
In this guide, you will learn how to deploy an Astro SSR project to AWS Elasic Beanstalk. You will go through the process of setting up a new Astro project, enabling server-side rendering, and finally deploying it to AWS Elasic Beanstalk.
Table Of Contents
- Prerequisites
- Create a new Astro application
- Getting Started with the Node.js Adapter for Astro
- Configure your IAM Roles
- Deploy to AWS Elastic Beanstalk
- Conclusion
Prerequisites
You’ll need the following:
Create a new Astro application
Let’s get started by creating a new Astro project. Open your terminal and run the following command:
npm create astro@latest my-appnpm create astro is the recommended way to scaffold an Astro project quickly.
When prompted, choose:
Emptywhen prompted on how to start the new project.Yeswhen prompted if plan to write Typescript.Strictwhen prompted how strict Typescript should be.Yeswhen prompted to install dependencies.Yeswhen prompted to initialize a git repository.
Once that’s done, you can move into the project directory and start the app:
cd my-appnpm run devThe app should be running on localhost:4321. Next, execute the command below to install the necessary libraries and packages for building the application:
npm install dotenvnpm install -D prepend-fileThe libraries installed include:
dotenv: A library for handling environment variables.
The development-specific libraries include:
prepend-file: A library to prepend data to a file.
Getting Started with the Node.js Adapter for Astro
Before deploying your Astro project, you need to install the @astrojs/node adapter. Execute the following command:
npm install @astrojs/nodeThe libraries installed include:
@astrojs/node: An adapter that prepares Astro websites to be ran as Node.js server.
Once the adapter is installed, you’ll need to add it to your astro.config.mjs file. Open the file and add the following code:
import node from '@astrojs/node';import { defineConfig } from 'astro/config';
export default defineConfig({  output: "server",  adapter: node({    mode: "standalone"  }),});
The additions do the following:
- Imports default export of
@astrojs/node. - Uses the above import as the
adapterof your Astro application. - Sets
outputtoserverto enable server-side rendering compatible output.
Then, create a zip.mjs at the root of repository with the following code:
import zl from "zip-lib"import { join } from "node:path"import { sync as prependSync } from "prepend-file"
const zip = new zl.Zip()
prependSync(join("dist", "server", "entry.mjs"), `import 'dotenv/config'\n`)
zip.addFolder("./dist", "dist")zip.addFile("./package.json", "package.json")zip.addFile("./tsconfig.json", "tsconfig.json")zip.addFolder("./node_modules", "node_modules")
zip.archive(`./deployment_${Math.random().toString()}.zip`)
console.log('Zipped!')
The code above does the following:
- Imports
dotenv/configindist/server/entry.mjsto load all the environment variables into the scope, making them accessible viaprocess.envobject. - Creates a zip with the following files and folders in it:
dist: containing the static and server side required assets.node_modules: collection of installed dependencies.tsconfig.json: containing path aliases.package.json: used by AWS Elastic Beanstalk to run thenpm run startcommand.
Now, execute the following command to generate a zip file containing static assets, server-side bundle and package.json:
npm run build && node zip.mjsOnce it completes, you’d see a zip file with the name beginning with deployment_. You’ll use this zip to deploy your application on AWS Elastic Beanstalk. Let’s get started with the configuring the IAM roles required to deploy an application to AWS Elastic Beanstalk.
Configure your IAM Roles
- Open the IAM console, and click Create role.
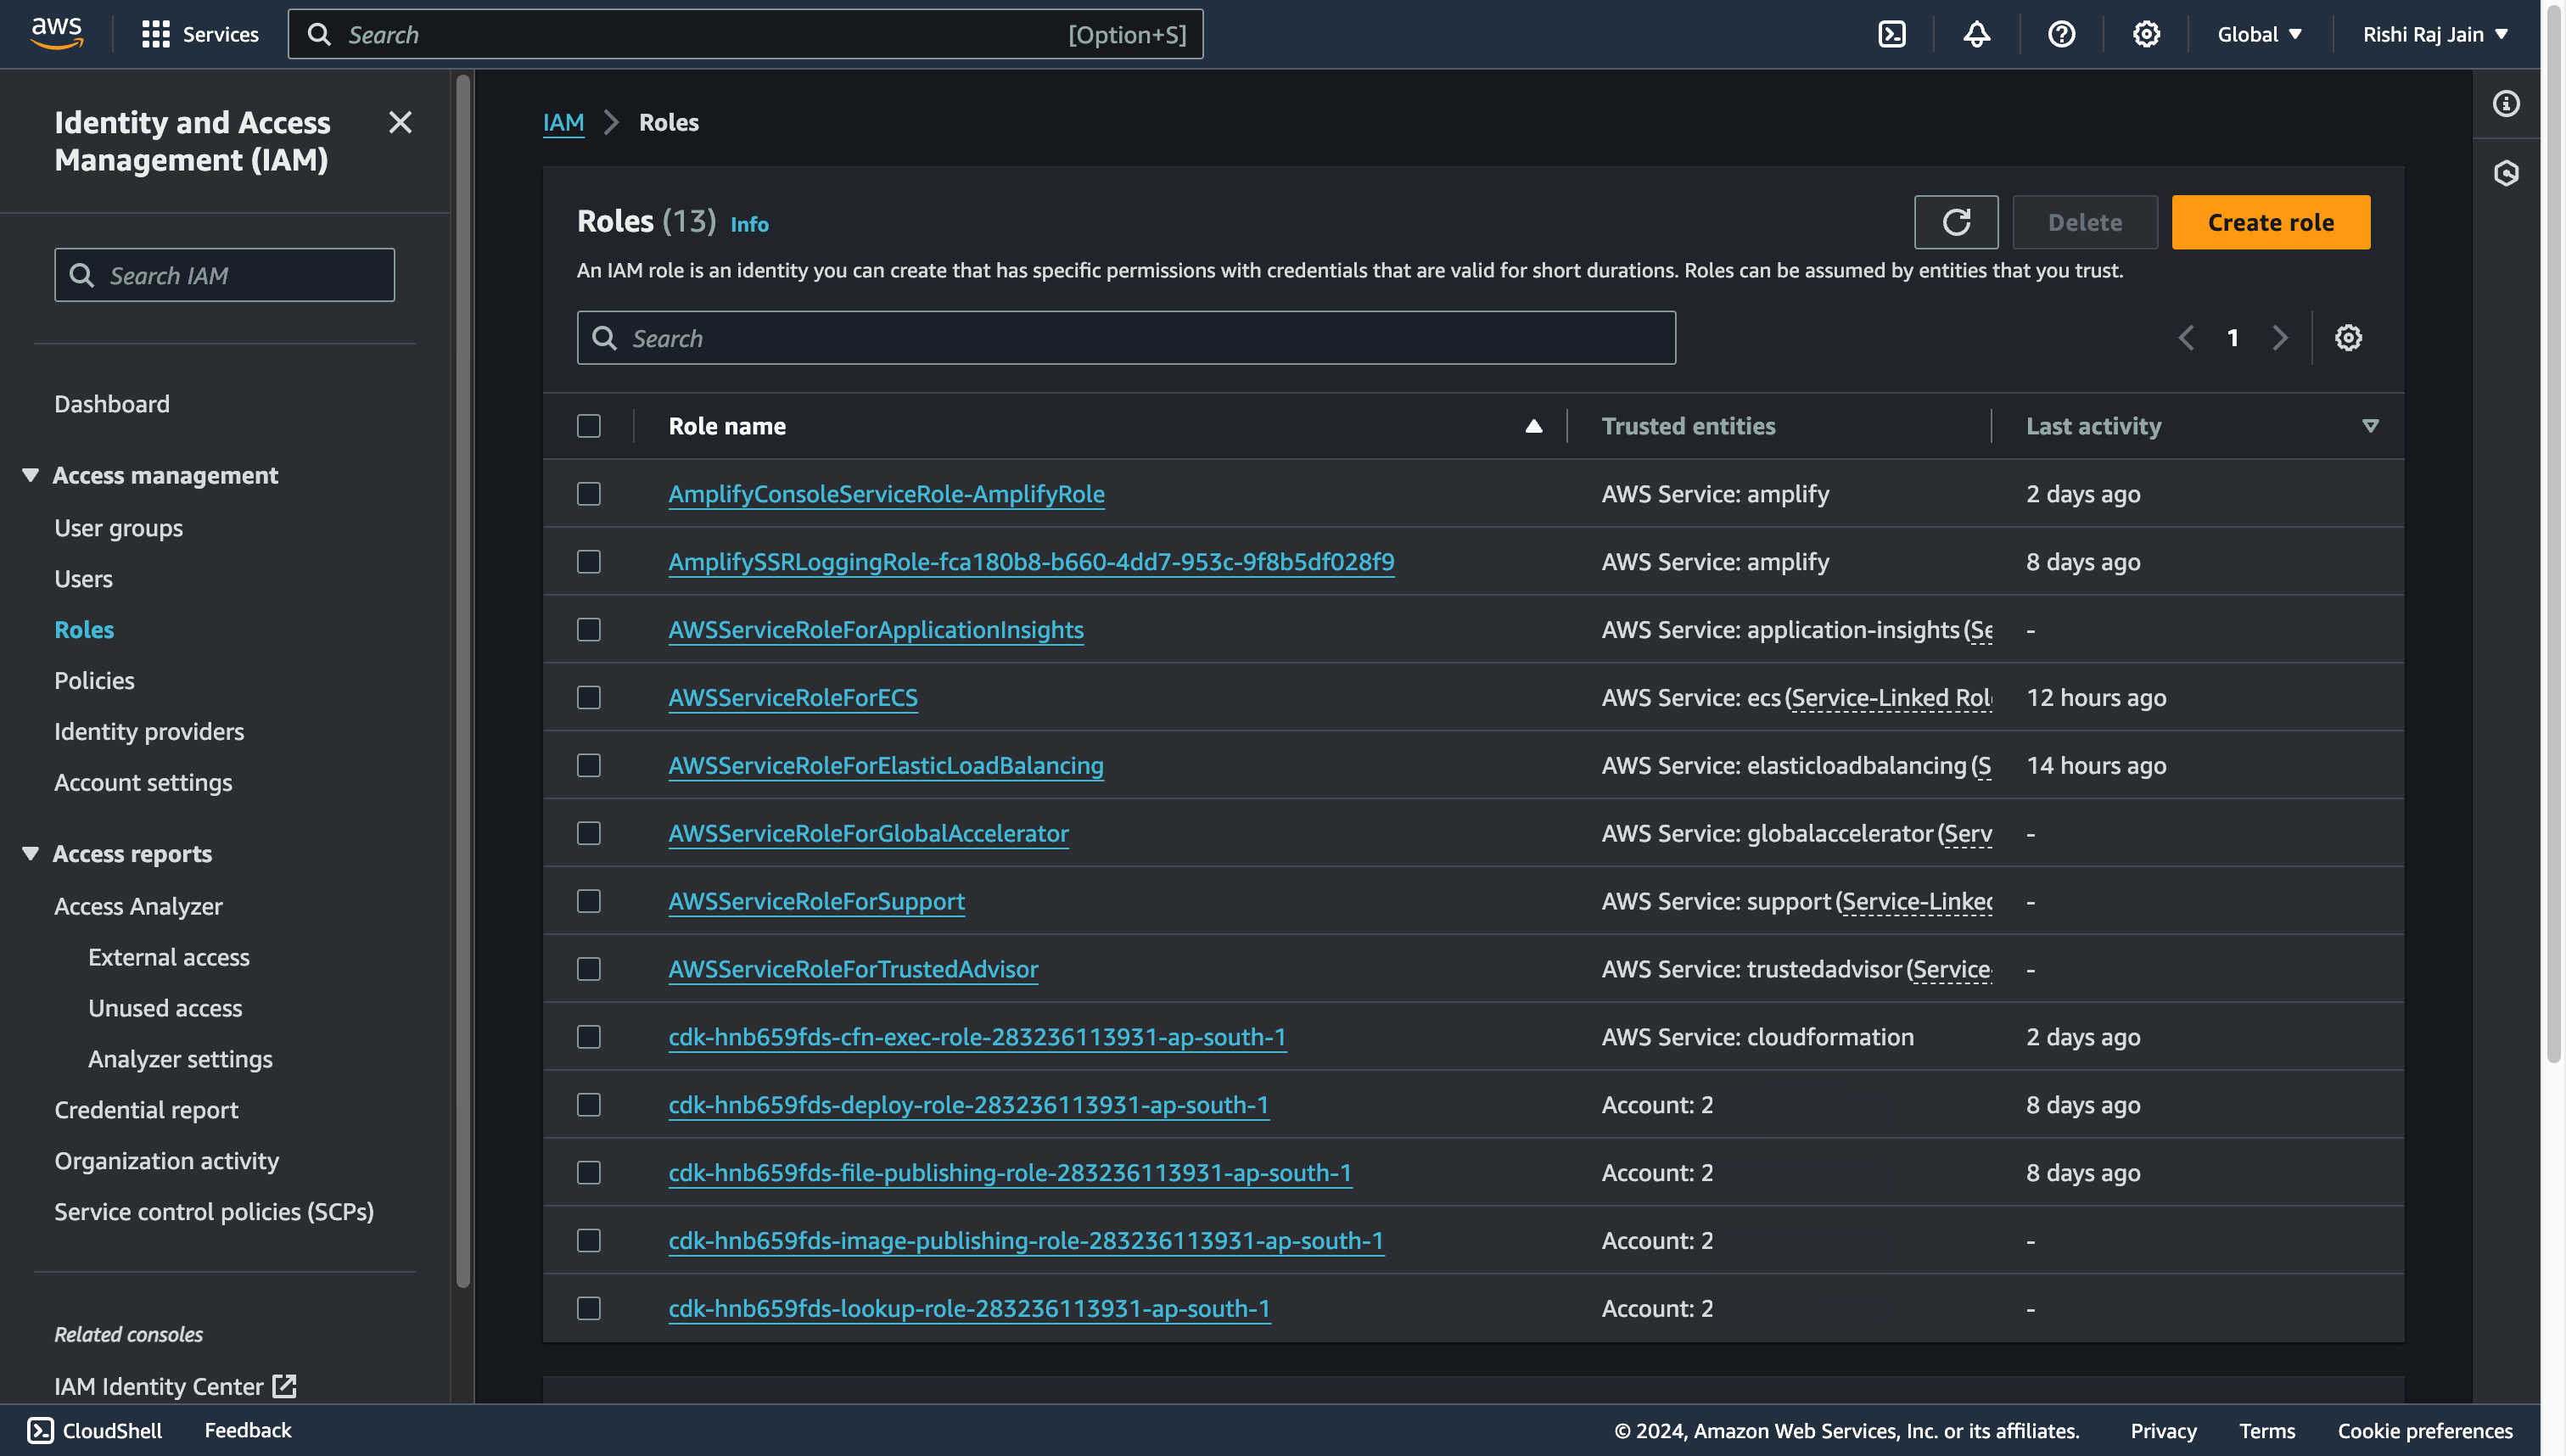
- Select AWS Service and choose Elastic Beanstalk as the Service or use case.

- Go by the default permissions set, and click Next.

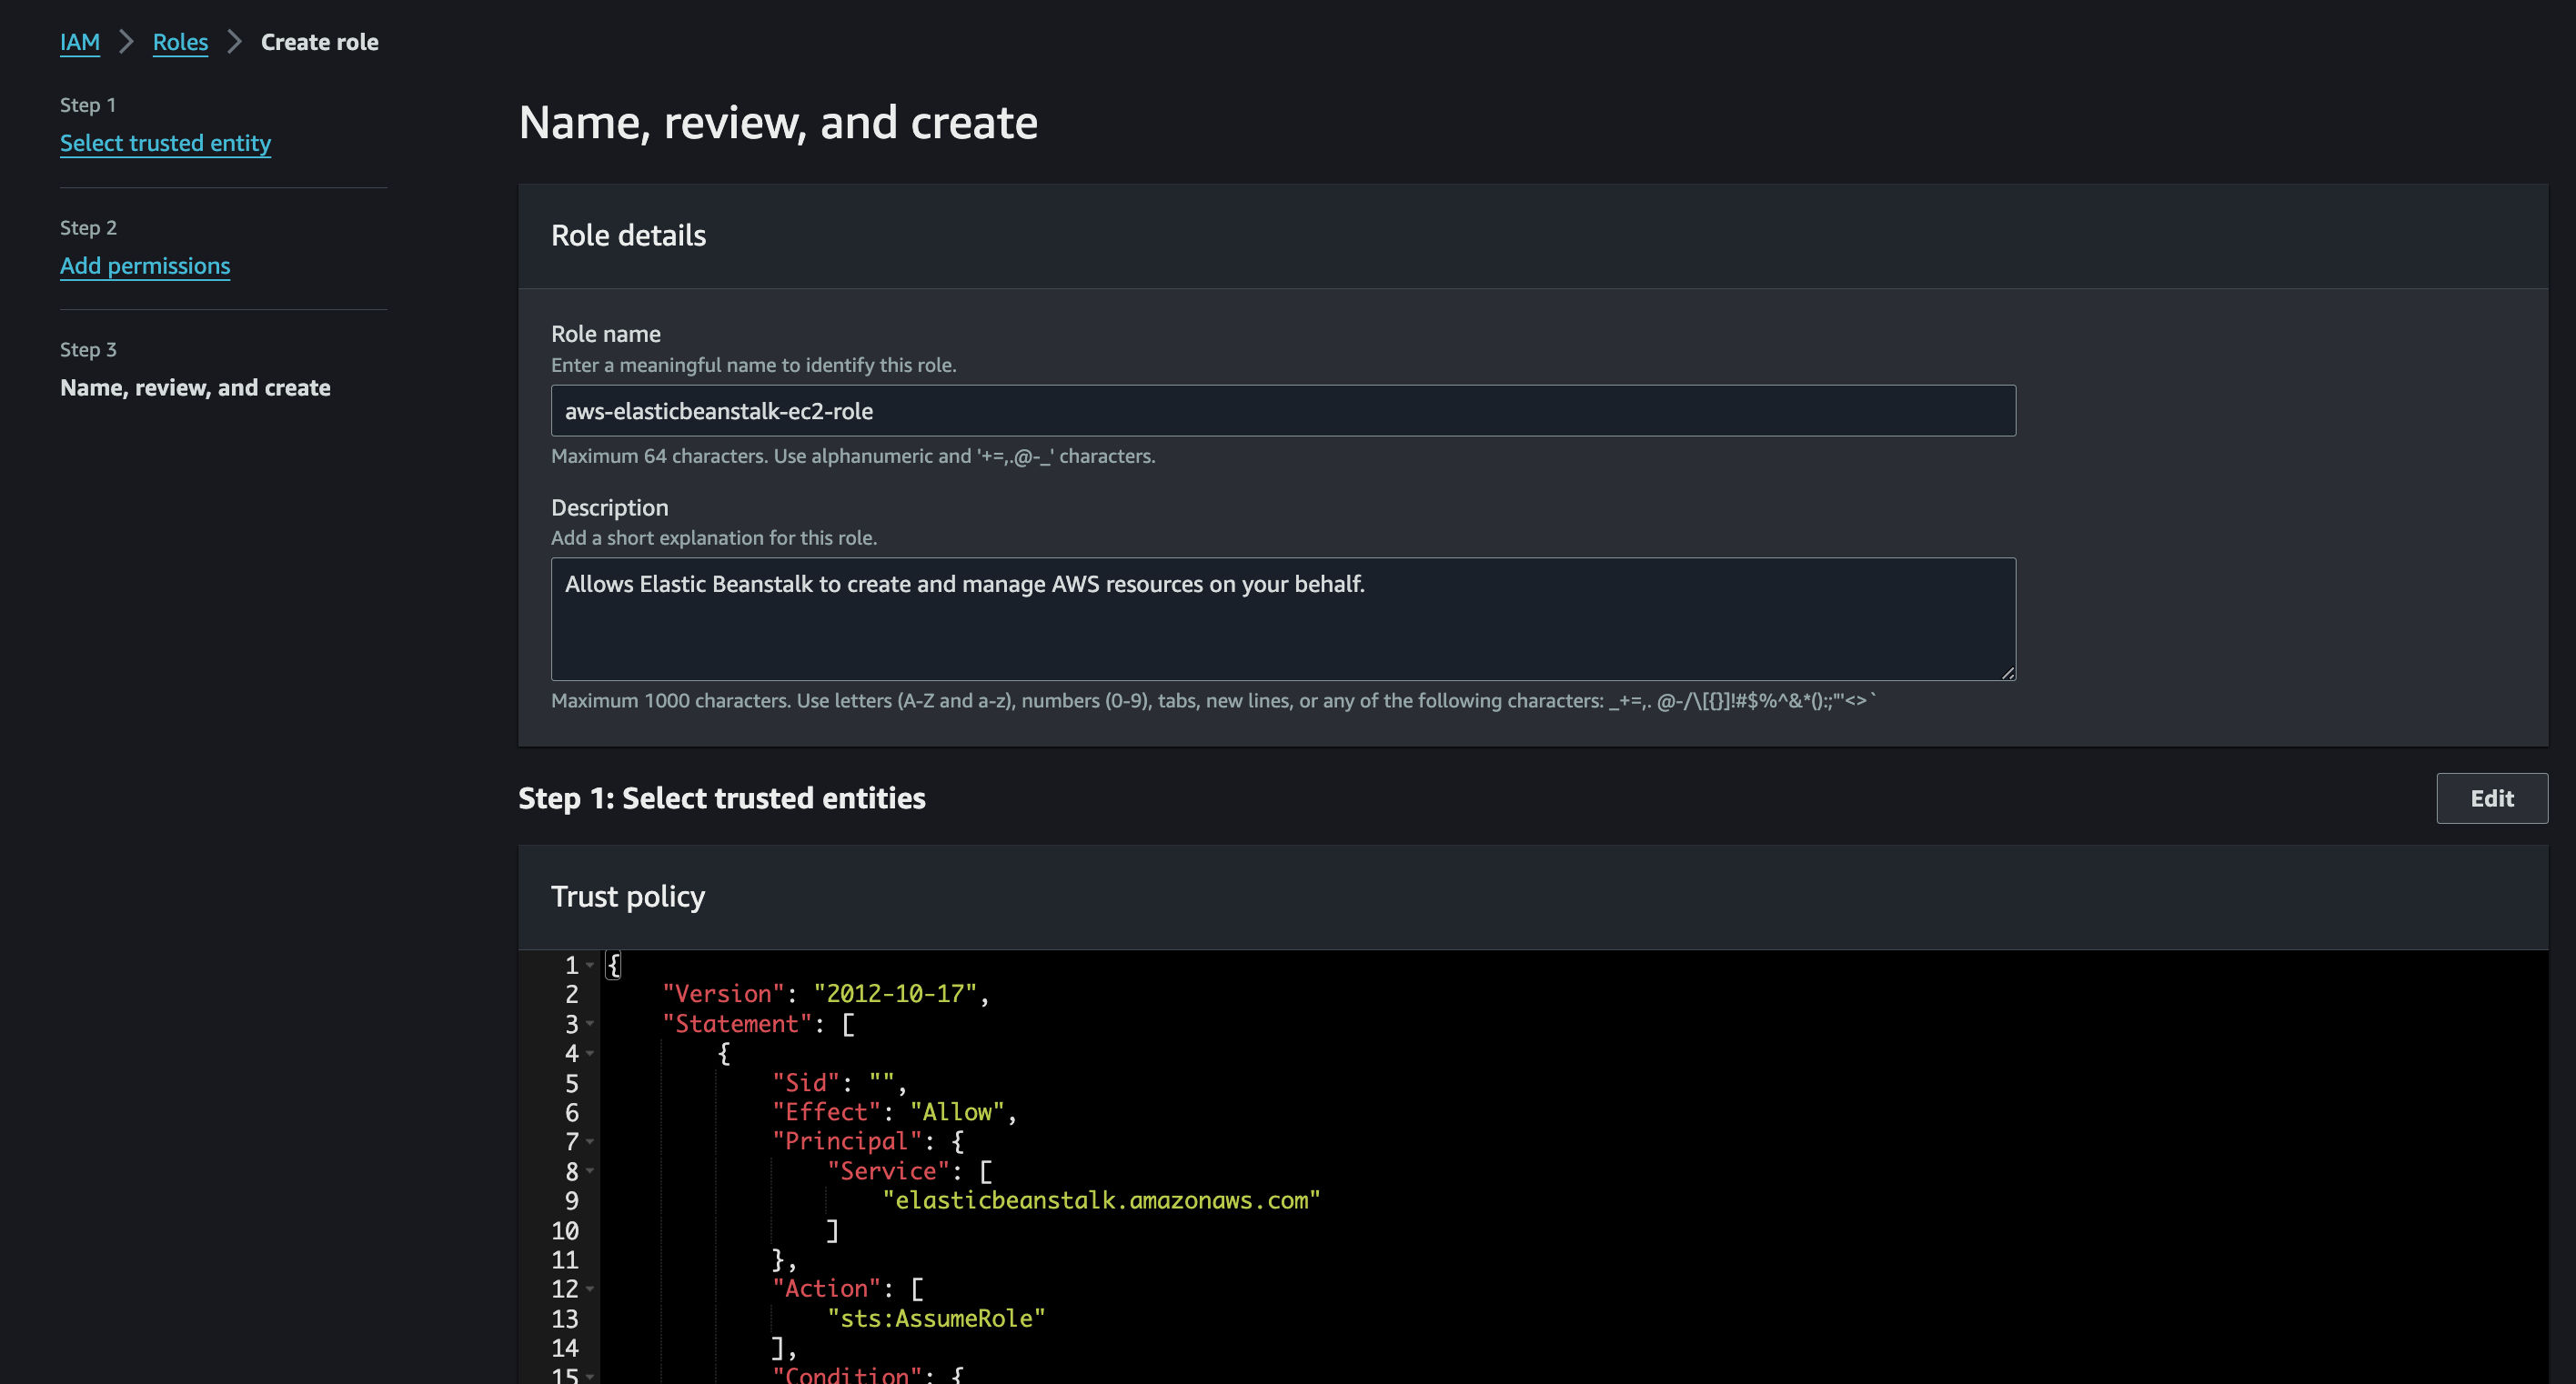
- Enter
aws-elasticbeanstalk-ec2-roleas the Role name.
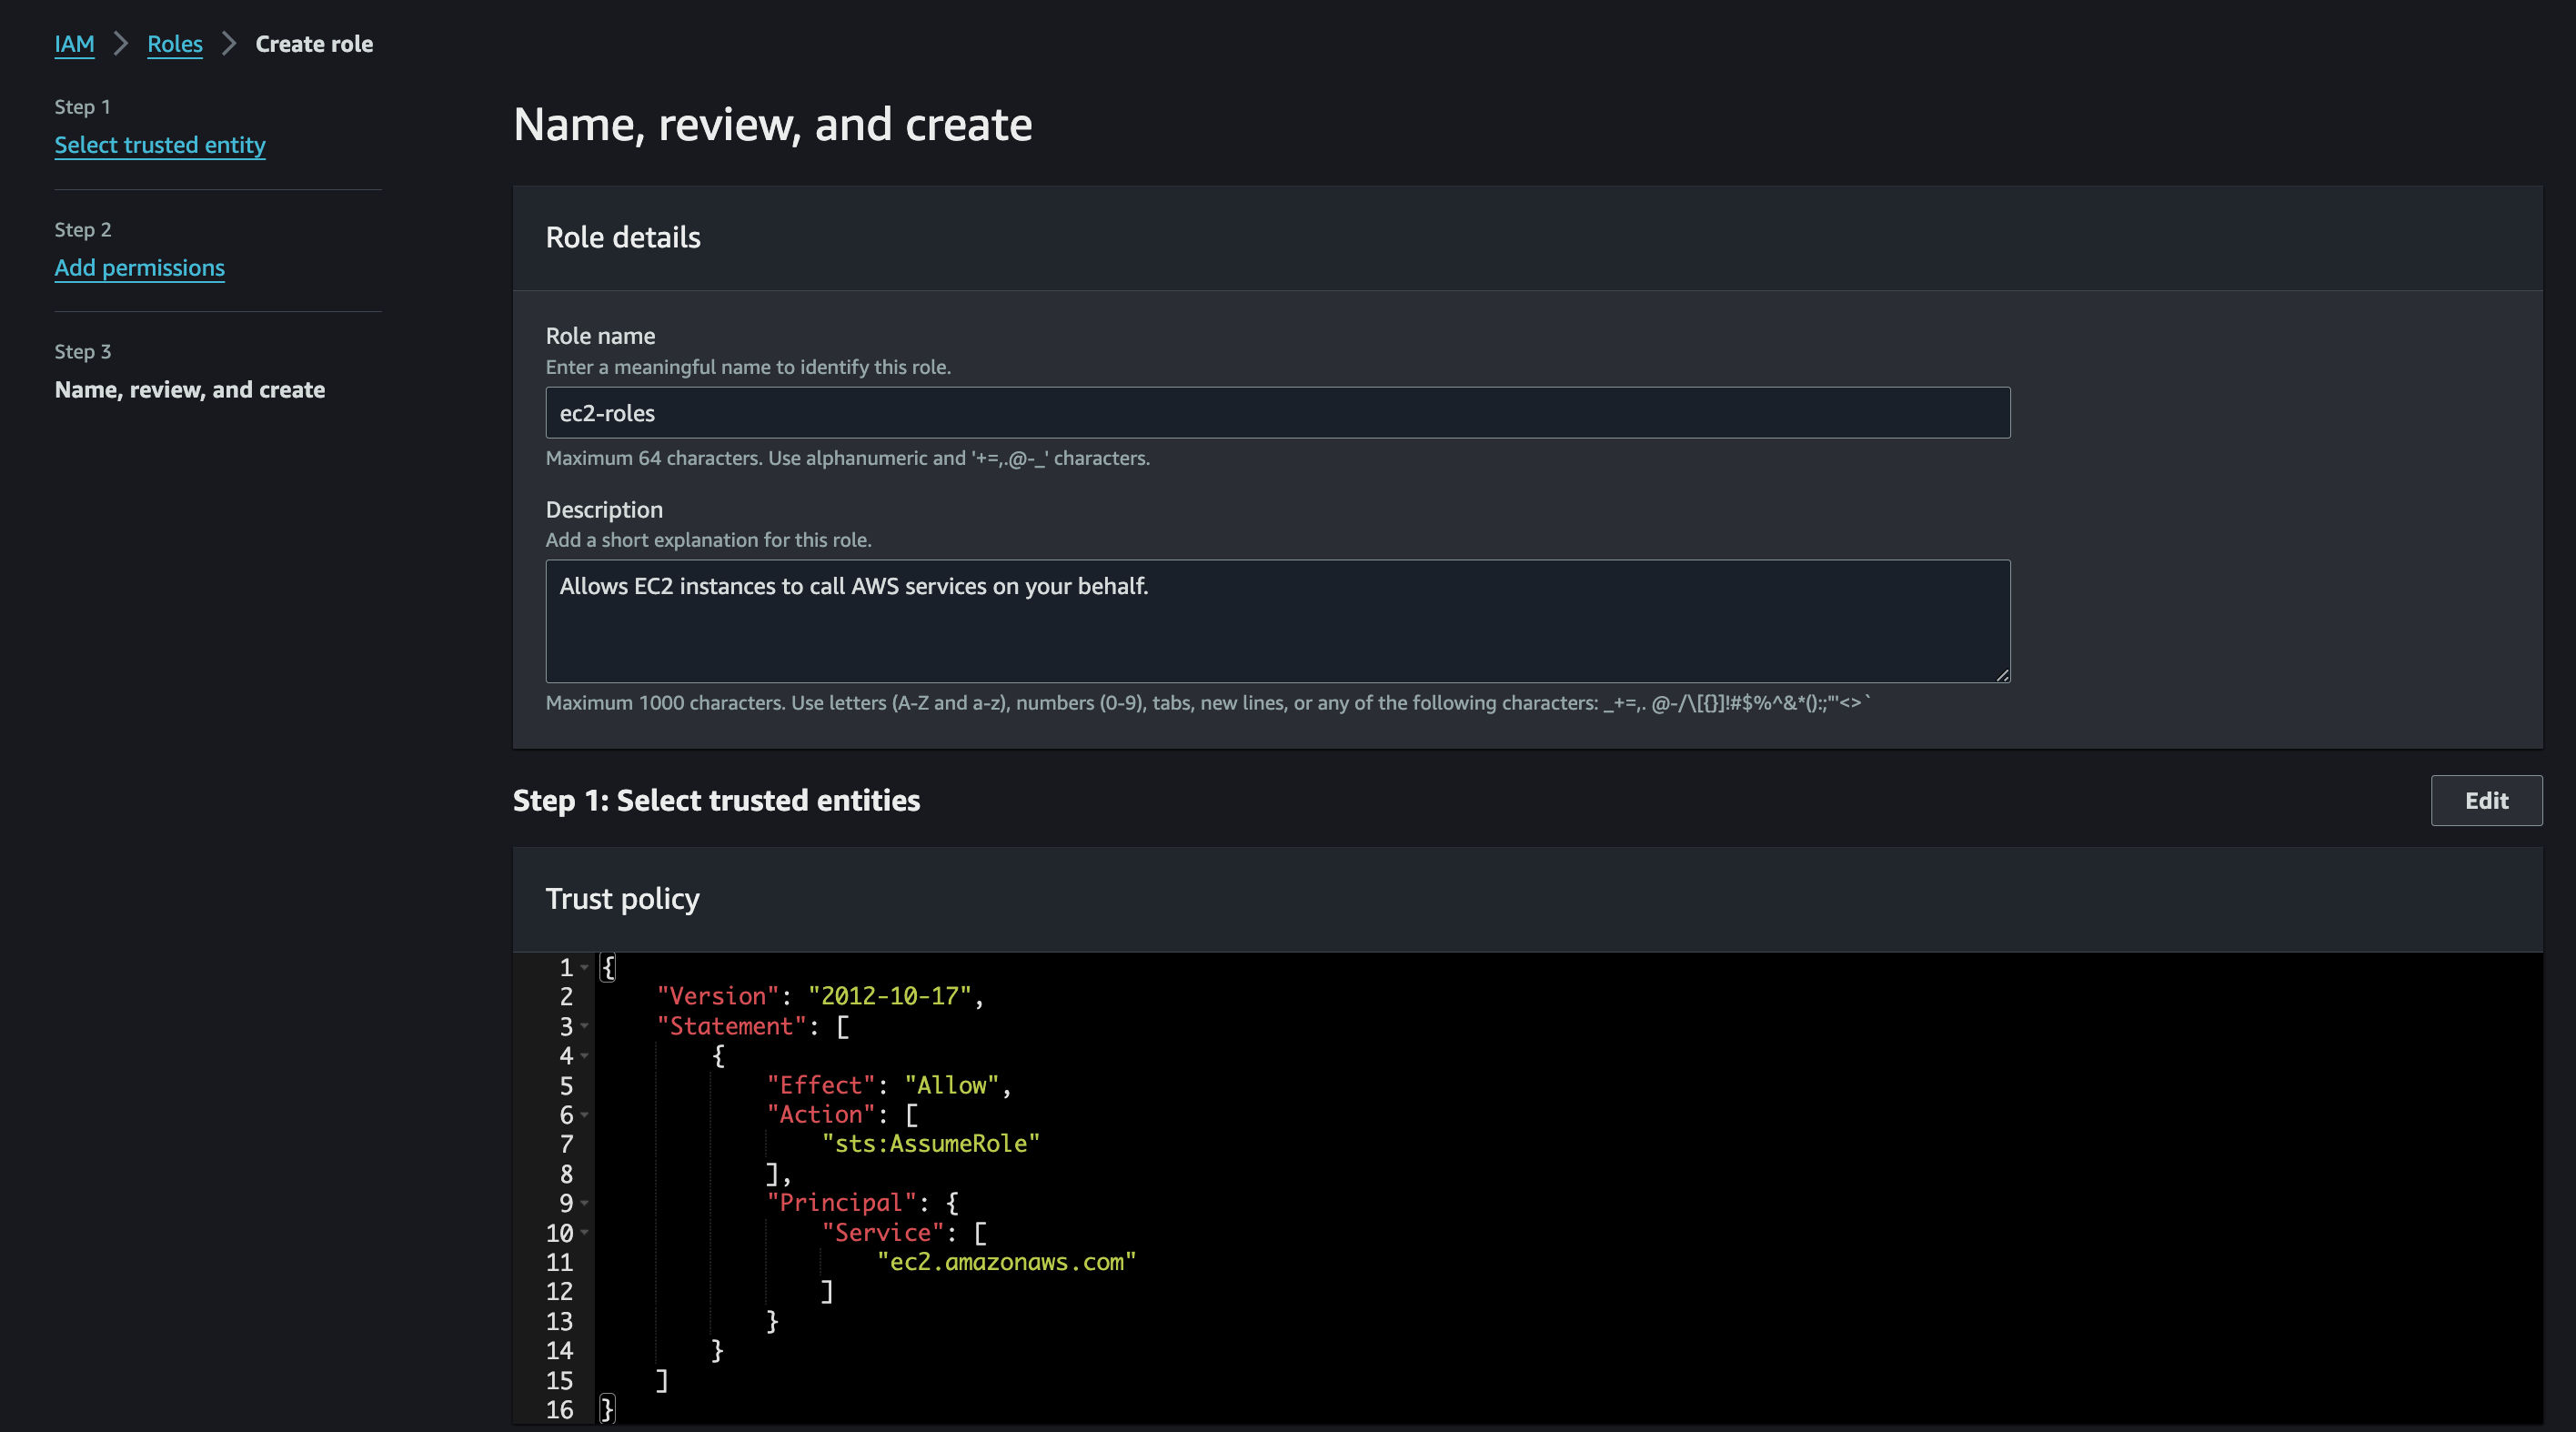
- Go back to the IAM Console, and click Create role.
- Select AWS Service and choose EC2 as the Service or use case.

-
Filter the large set of permissions policies, type AWSElasticBeanstalk, select the following:
- AWSElasticBeanstalkMulticontainerDocker
- AWSElasticBeanstalkWebTier
- AWSElasticBeanstalkWorkerTier
Then, click Next.

- Enter
ec2-rolesas the Role name.
and you are now done with setting up IAM Roles for your account. Let’s move on to deploy your Astro application to AWS Elastic Beanstalk.
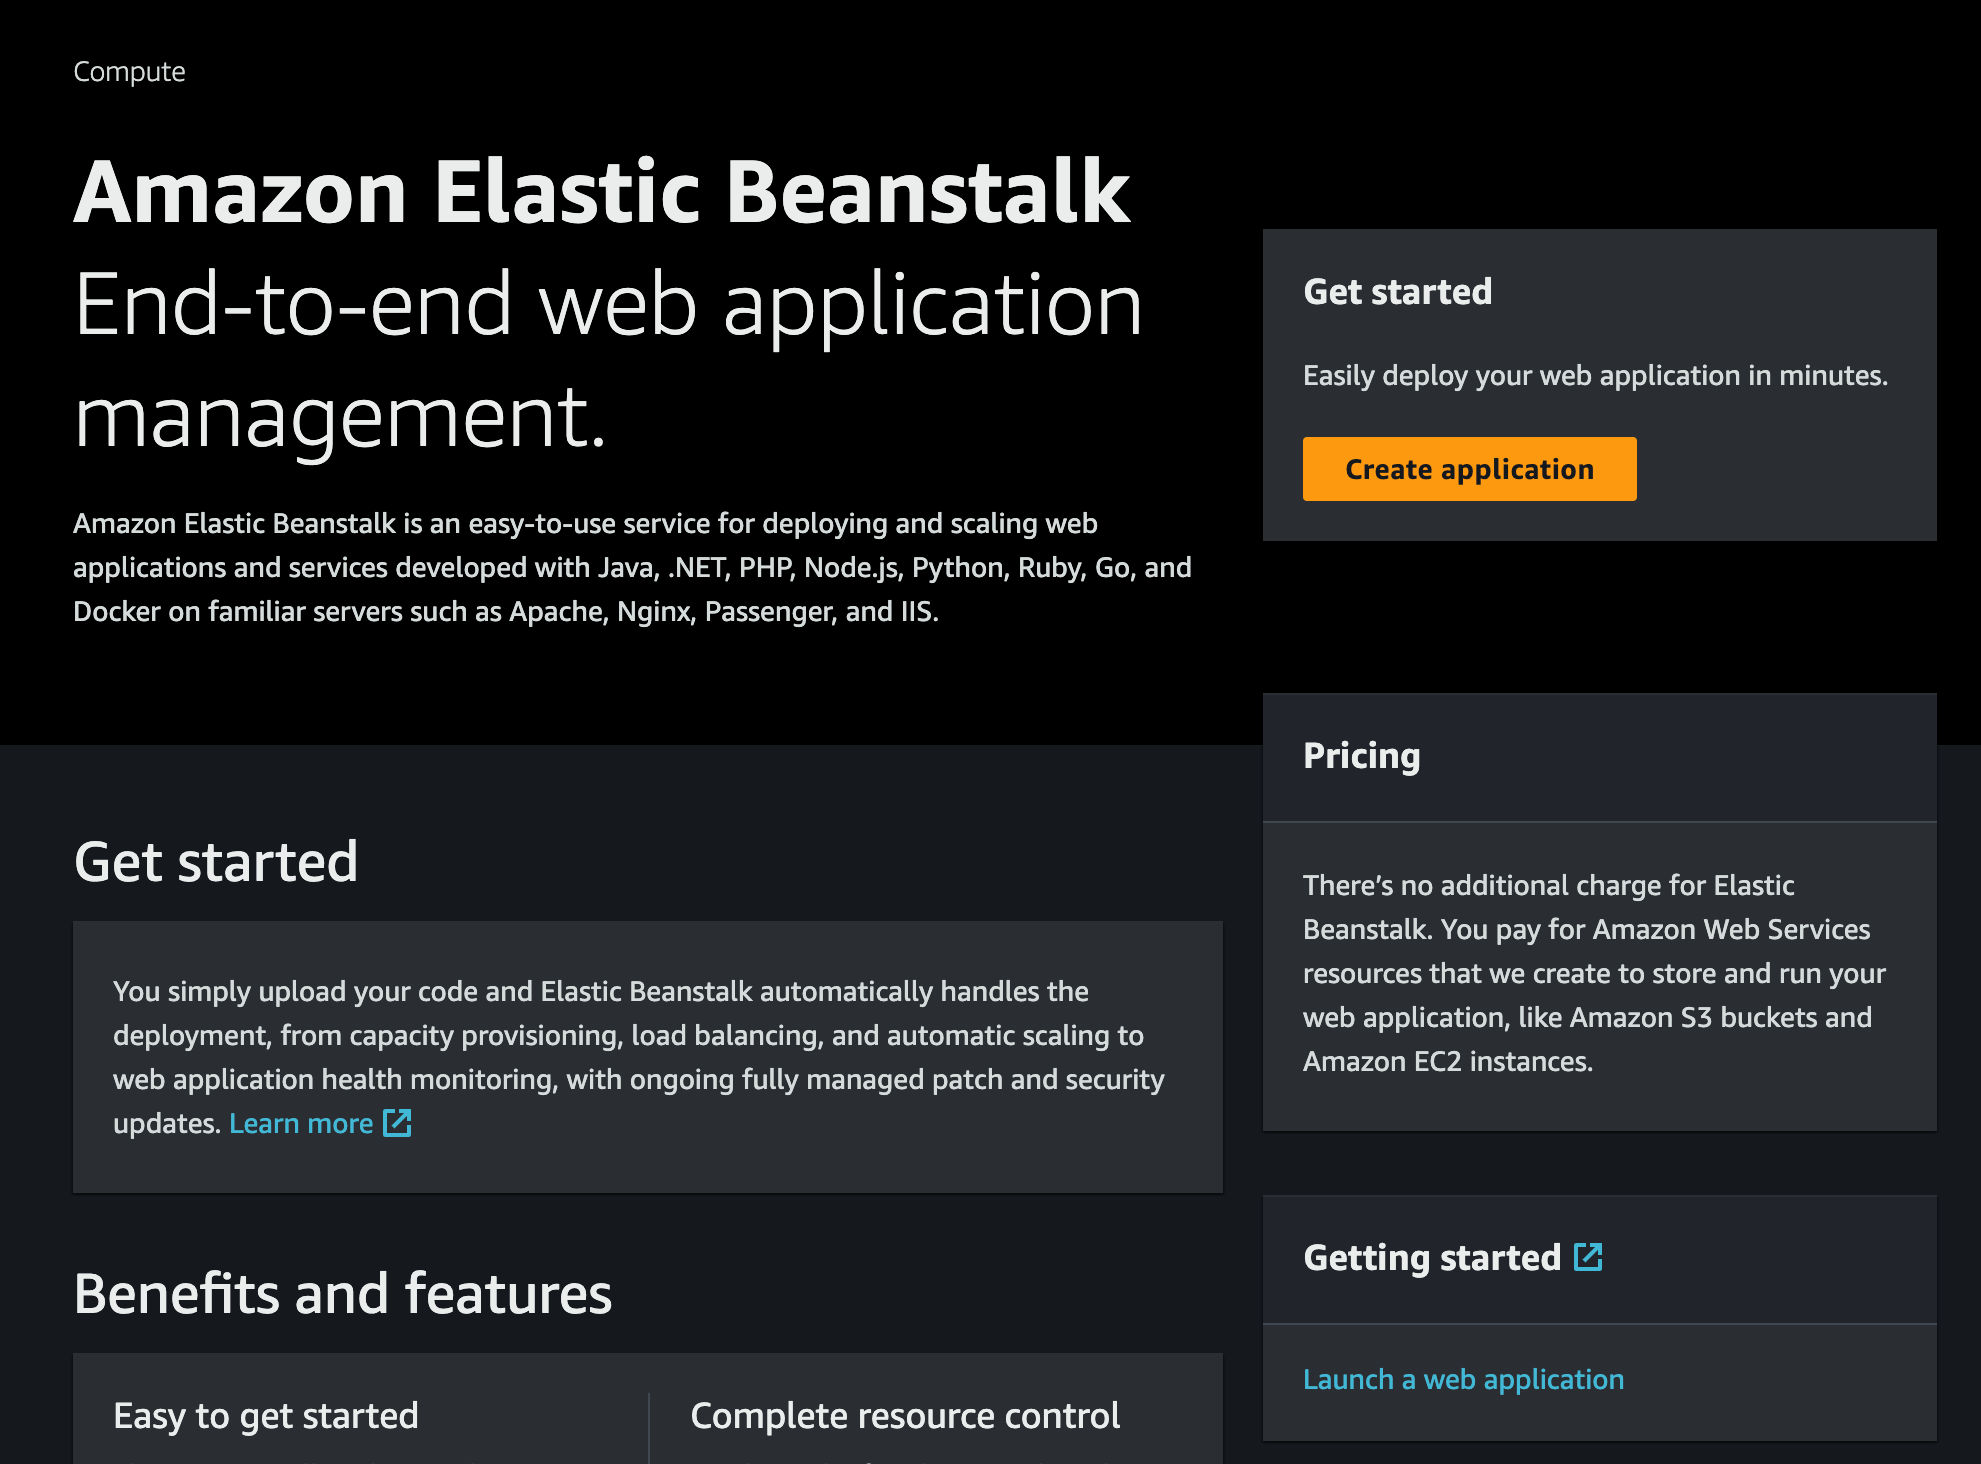
Deploy to AWS Elastic Beanstalk
The code is now ready to deploy to AWS Elasic Beanstalk. Use the following steps to deploy:
-
Start by creating a GitHub repository containing your app’s code.
-
Then, navigate to the AWS Elasic Beanstalk Dashboard and click on Create application under Get Started under section.
- Give the application a name of your choice.
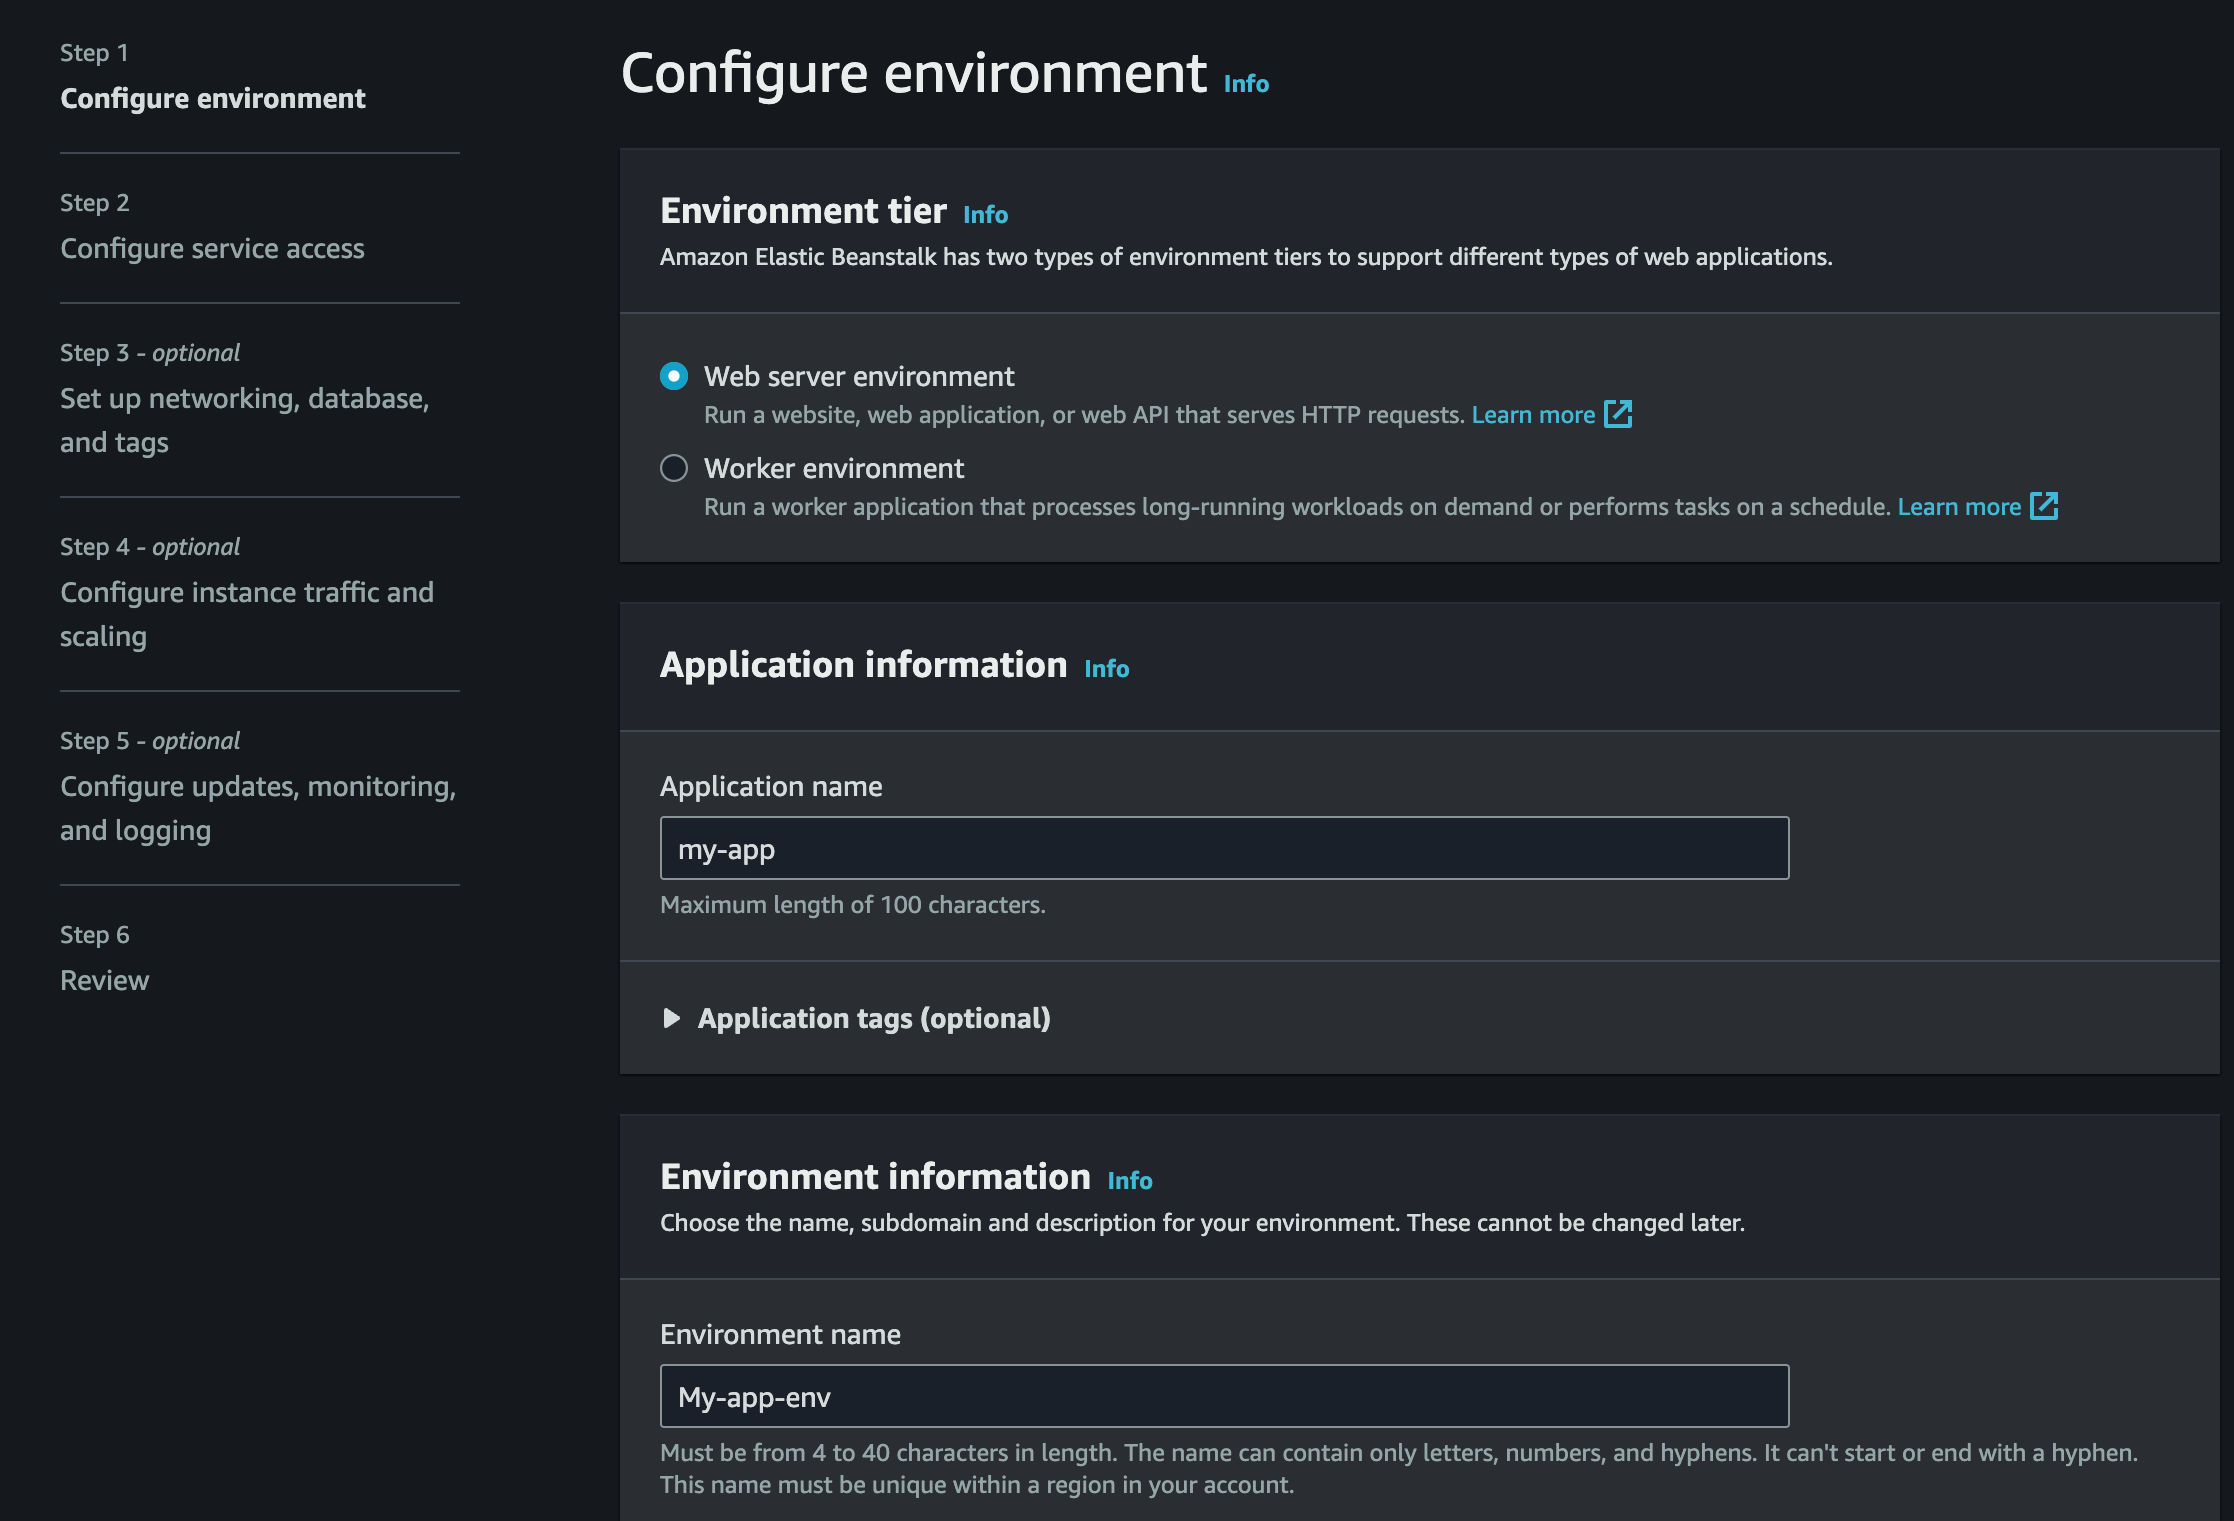
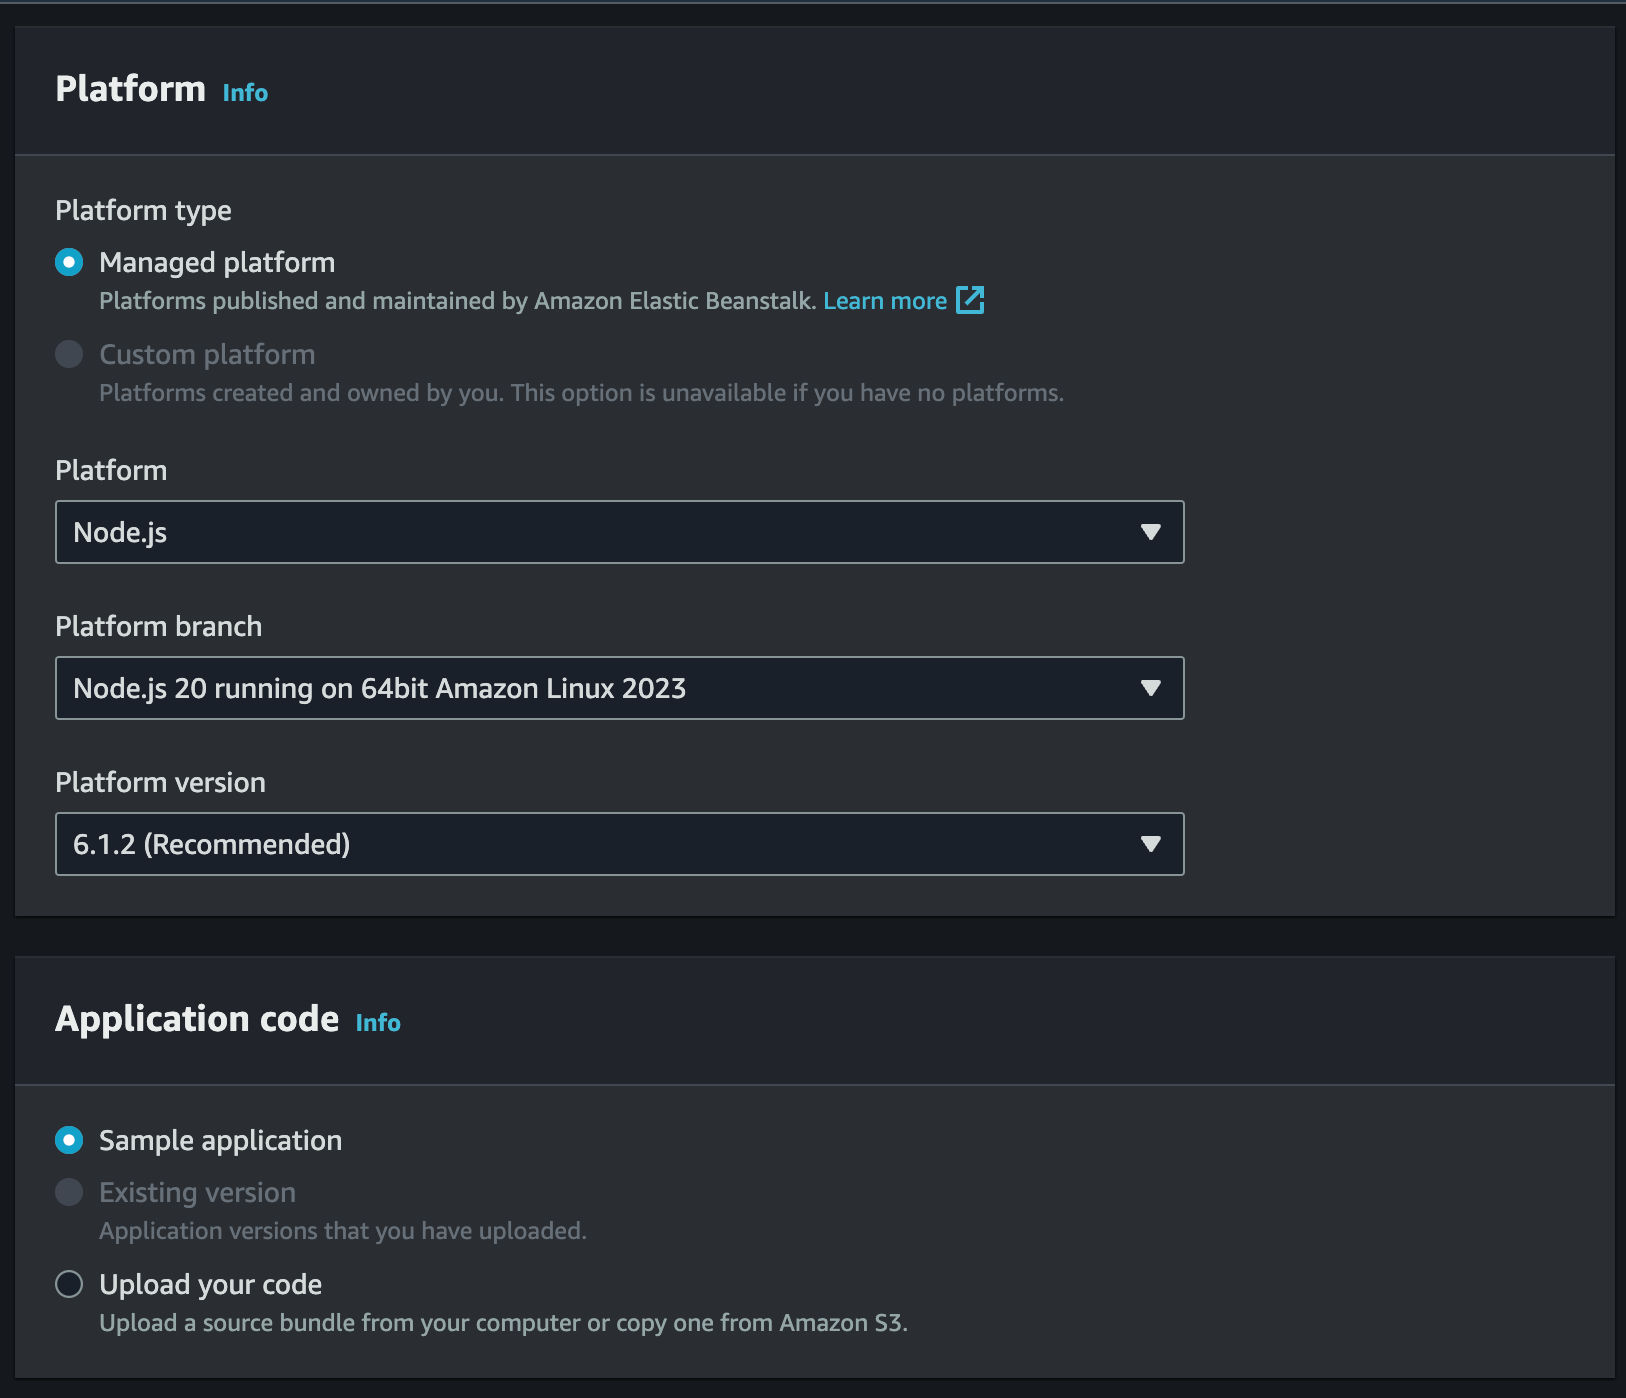
- Select
Node.jsas the platform you are going to use, and clickNext.
- Select
Use an existing service roleto use theaws-elasticbeanstalk-ec2-roleandec2-rolesyou created earlier, and clickNext.

- Select the default VPC, then enable public IP address and check all the subnets.

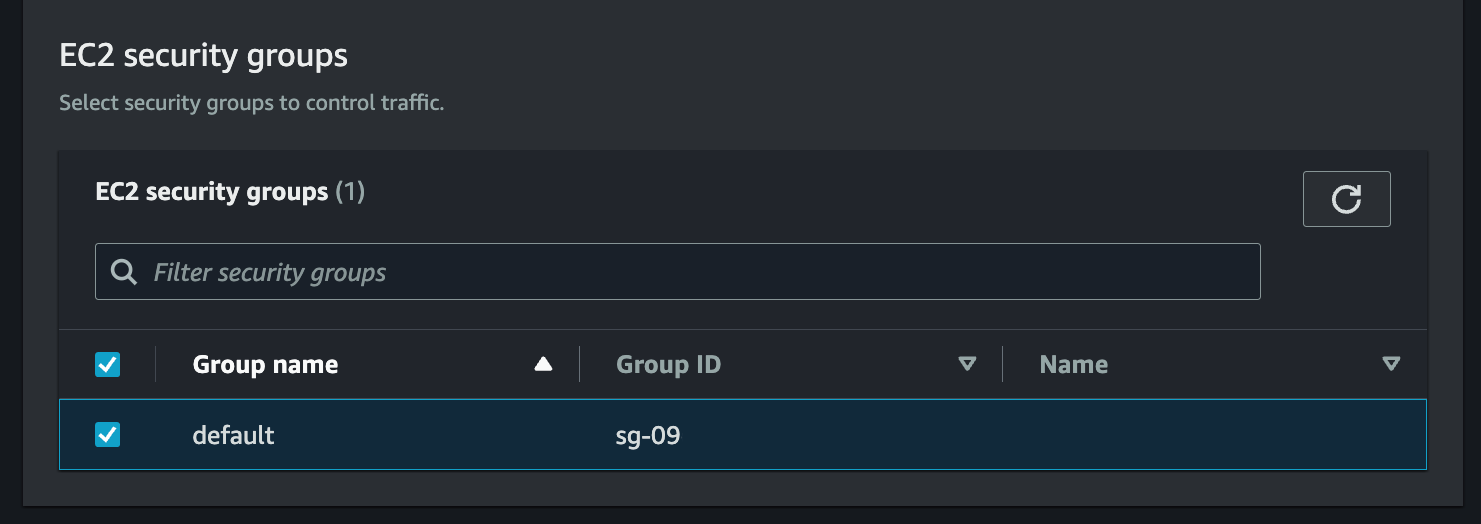
- Scroll down to the EC2 Security Groups section and use the default one.
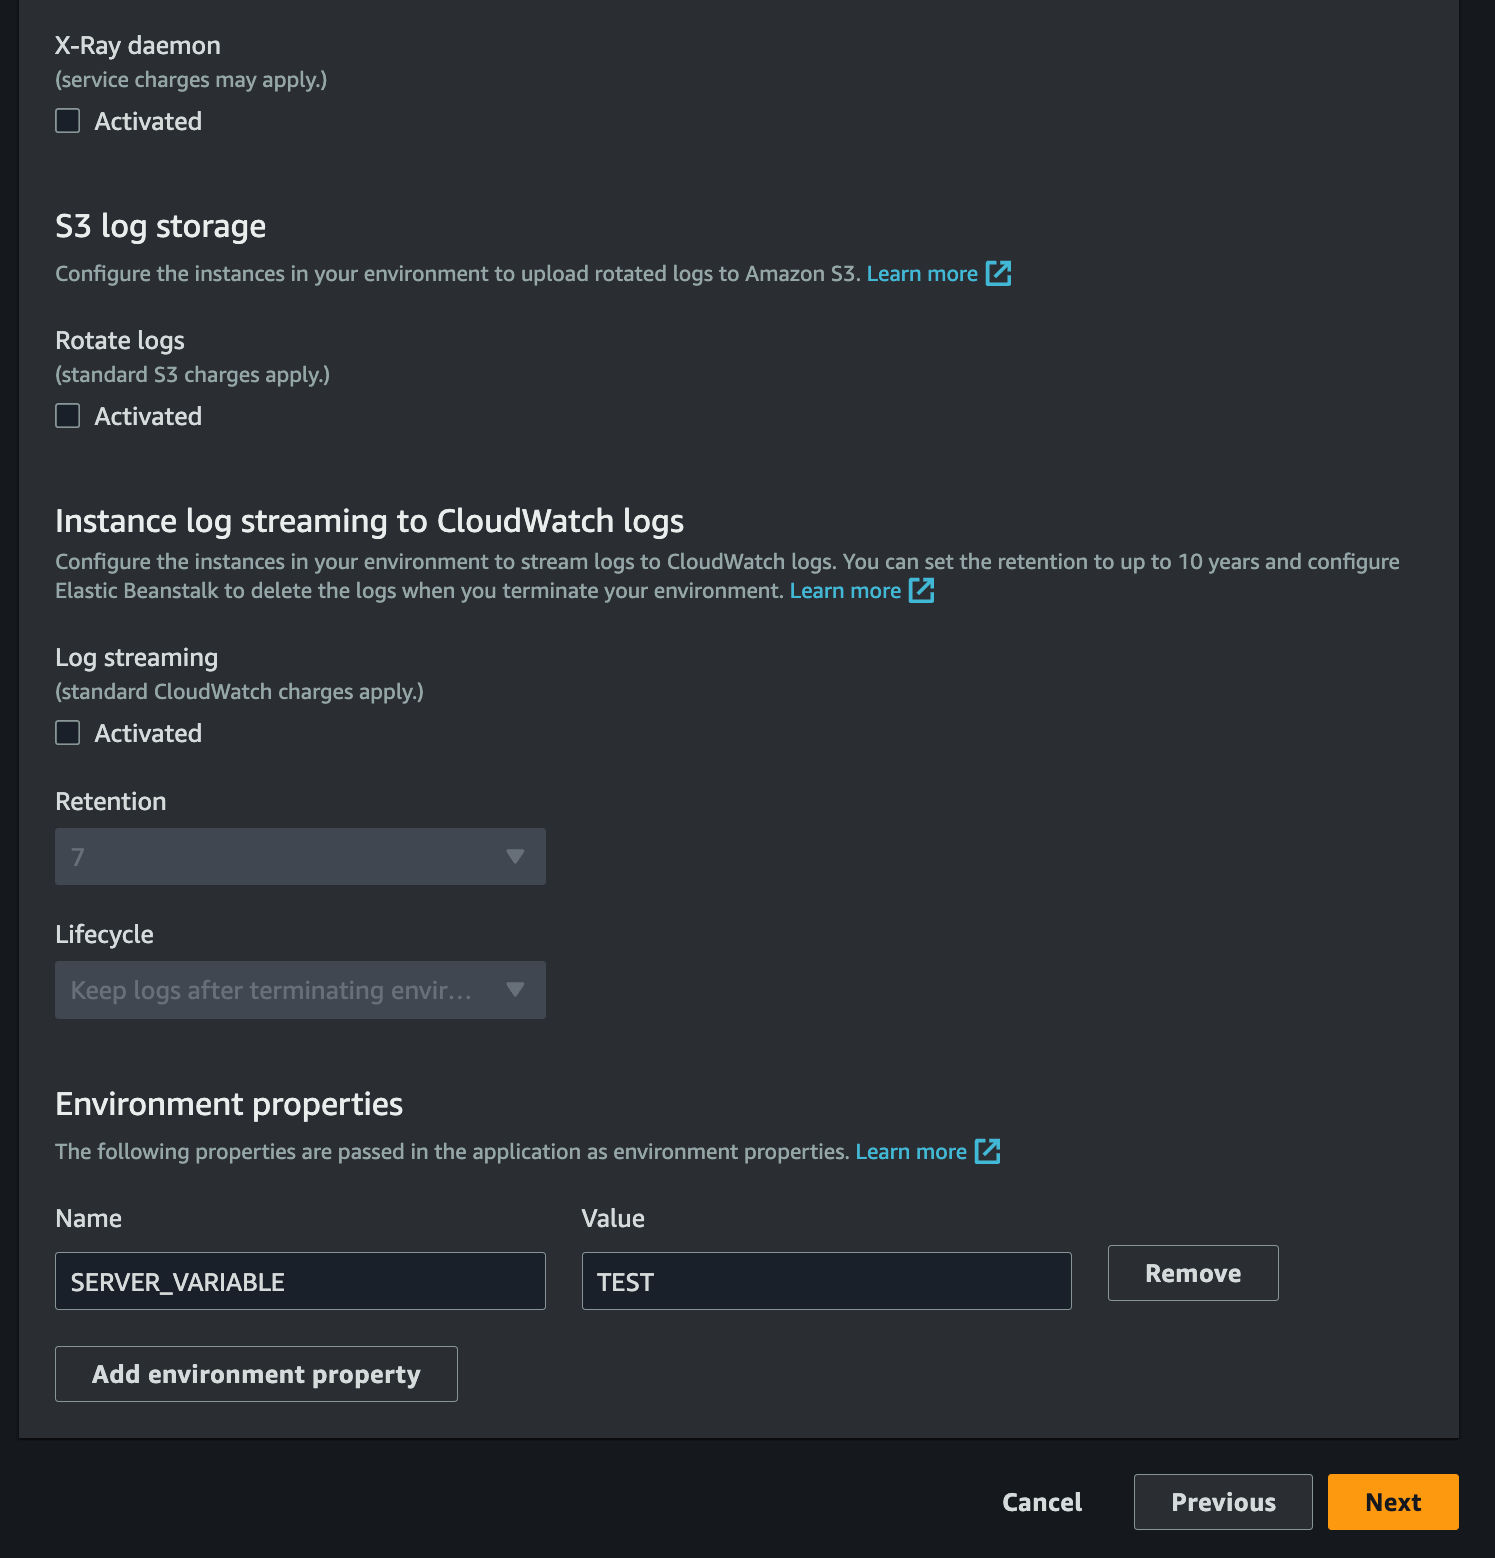
- Scroll down to the Environment properties section, and add a key value pair to be used as an environment variable.

- Say the environment variable to be accessed as
process.env.SERVER_VARIABLEis SERVER_VARIABLE and it’s value is TEST.
- Wait for the application to go live, and then click
Upload and Deploybutton at the top right corner.

- Click
Choose file, select the zip file you created earlier, and clickDeploy.

- Wait for the application to report it’s
Healthas Ok. Once all’s good, click the URL belowDomainto see your Astro application in action.

Conclusion
Yay! You’ve now an Astro project that deploys to AWS Elasic Beanstalk.
If you have any questions or comments, feel free to reach out to me on Twitter.