In this guide, you will learn how to generate pre-signed URLs for Cloudflare R2 with Astro on Cloudflare Workers. You will go through the process of setting up a new Astro project, enabling server-side rendering using the Cloudflare adapter, obtaining Cloudflare R2 credentials and then creating functions to generate pre-signed URLs for retrieval and upload from Cloudflare R2.
Let’s get started by creating a new Astro project. Open your terminal and run the following command:
Terminal window
npmcreateastro@latestmy-app
npm create astro is the recommended way to scaffold an Astro project quickly.
When prompted, choose:
Use minimal (empty) template when prompted on how to start the new project.
Yes when prompted to install dependencies.
Yes when prompted to initialize a git repository.
Once that’s done, you can move into the project directory and start the app:
Terminal window
cdmy-app
npmrundev
The app should be running on localhost:4321. Next, execute the command below to install the necessary library for building the application:
Terminal window
npminstallaws4fetch
The following library is installed:
aws4fetch: An AWS client for environments that support fetch and SubtleCrypto.
Integrate Cloudflare adapter in your Astro project
To generate pre-signed URLs for each object dynamically, you will enable server-side rendering in your Astro project via the Cloudflare adapter, execute the following command:
Terminal window
npxastroaddcloudflare
When prompted, choose the following:
Y when prompted whether to install the Cloudflare dependencies.
Y when prompted whether to make changes to the Astro configuration file.
You have successfully enabled server-side rendering in Astro.
To make sure that the output is deployable to Cloudflare Workers, create a wrangler.toml file in the root of the project with the following code:
wrangler.toml
name = "cloudflare-r2-astro-workers"
main = "dist/_worker.js"
compatibility_date = "2025-04-01"
compatibility_flags = [ "nodejs_compat" ]
[assets]
directory="dist"
binding="ASSETS"
[vars]
AWS_KEY_ID=""
AWS_S3_BUCKET_NAME=""
AWS_SECRET_ACCESS_KEY=""
CLOUDFLARE_R2_ACCOUNT_ID=""
Post that, make sure that you have both an .env file and a wrangler.toml file with the variables defined so that they can be accessed during npm run dev and when deployed on Cloudflare Workers respectively.
Further, update the astro.config.mjs file with the following to be able to access these variables in code programmatically:
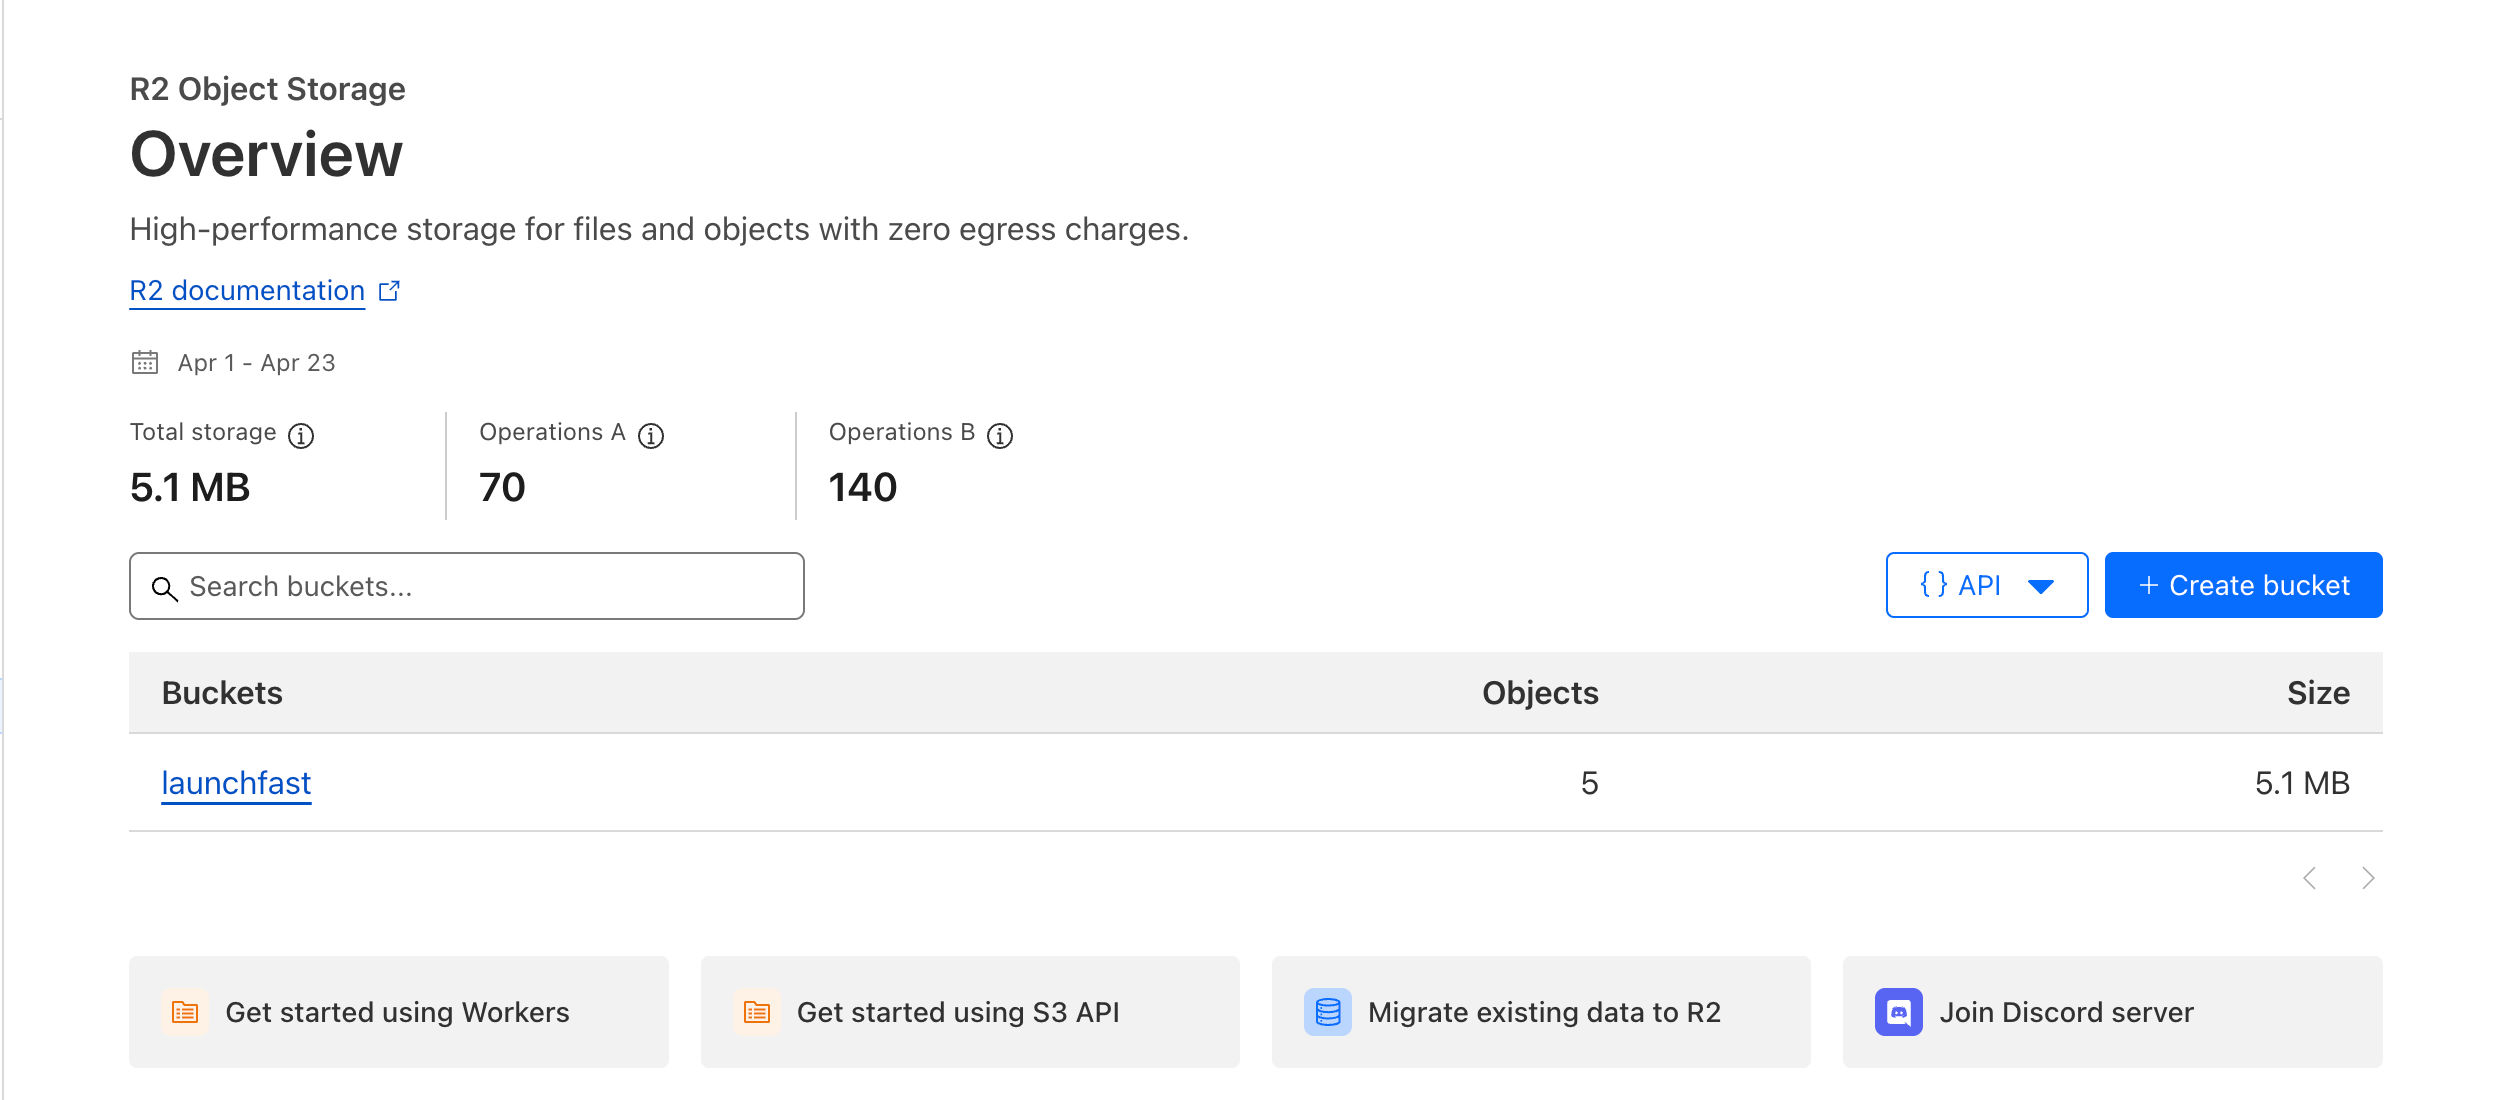
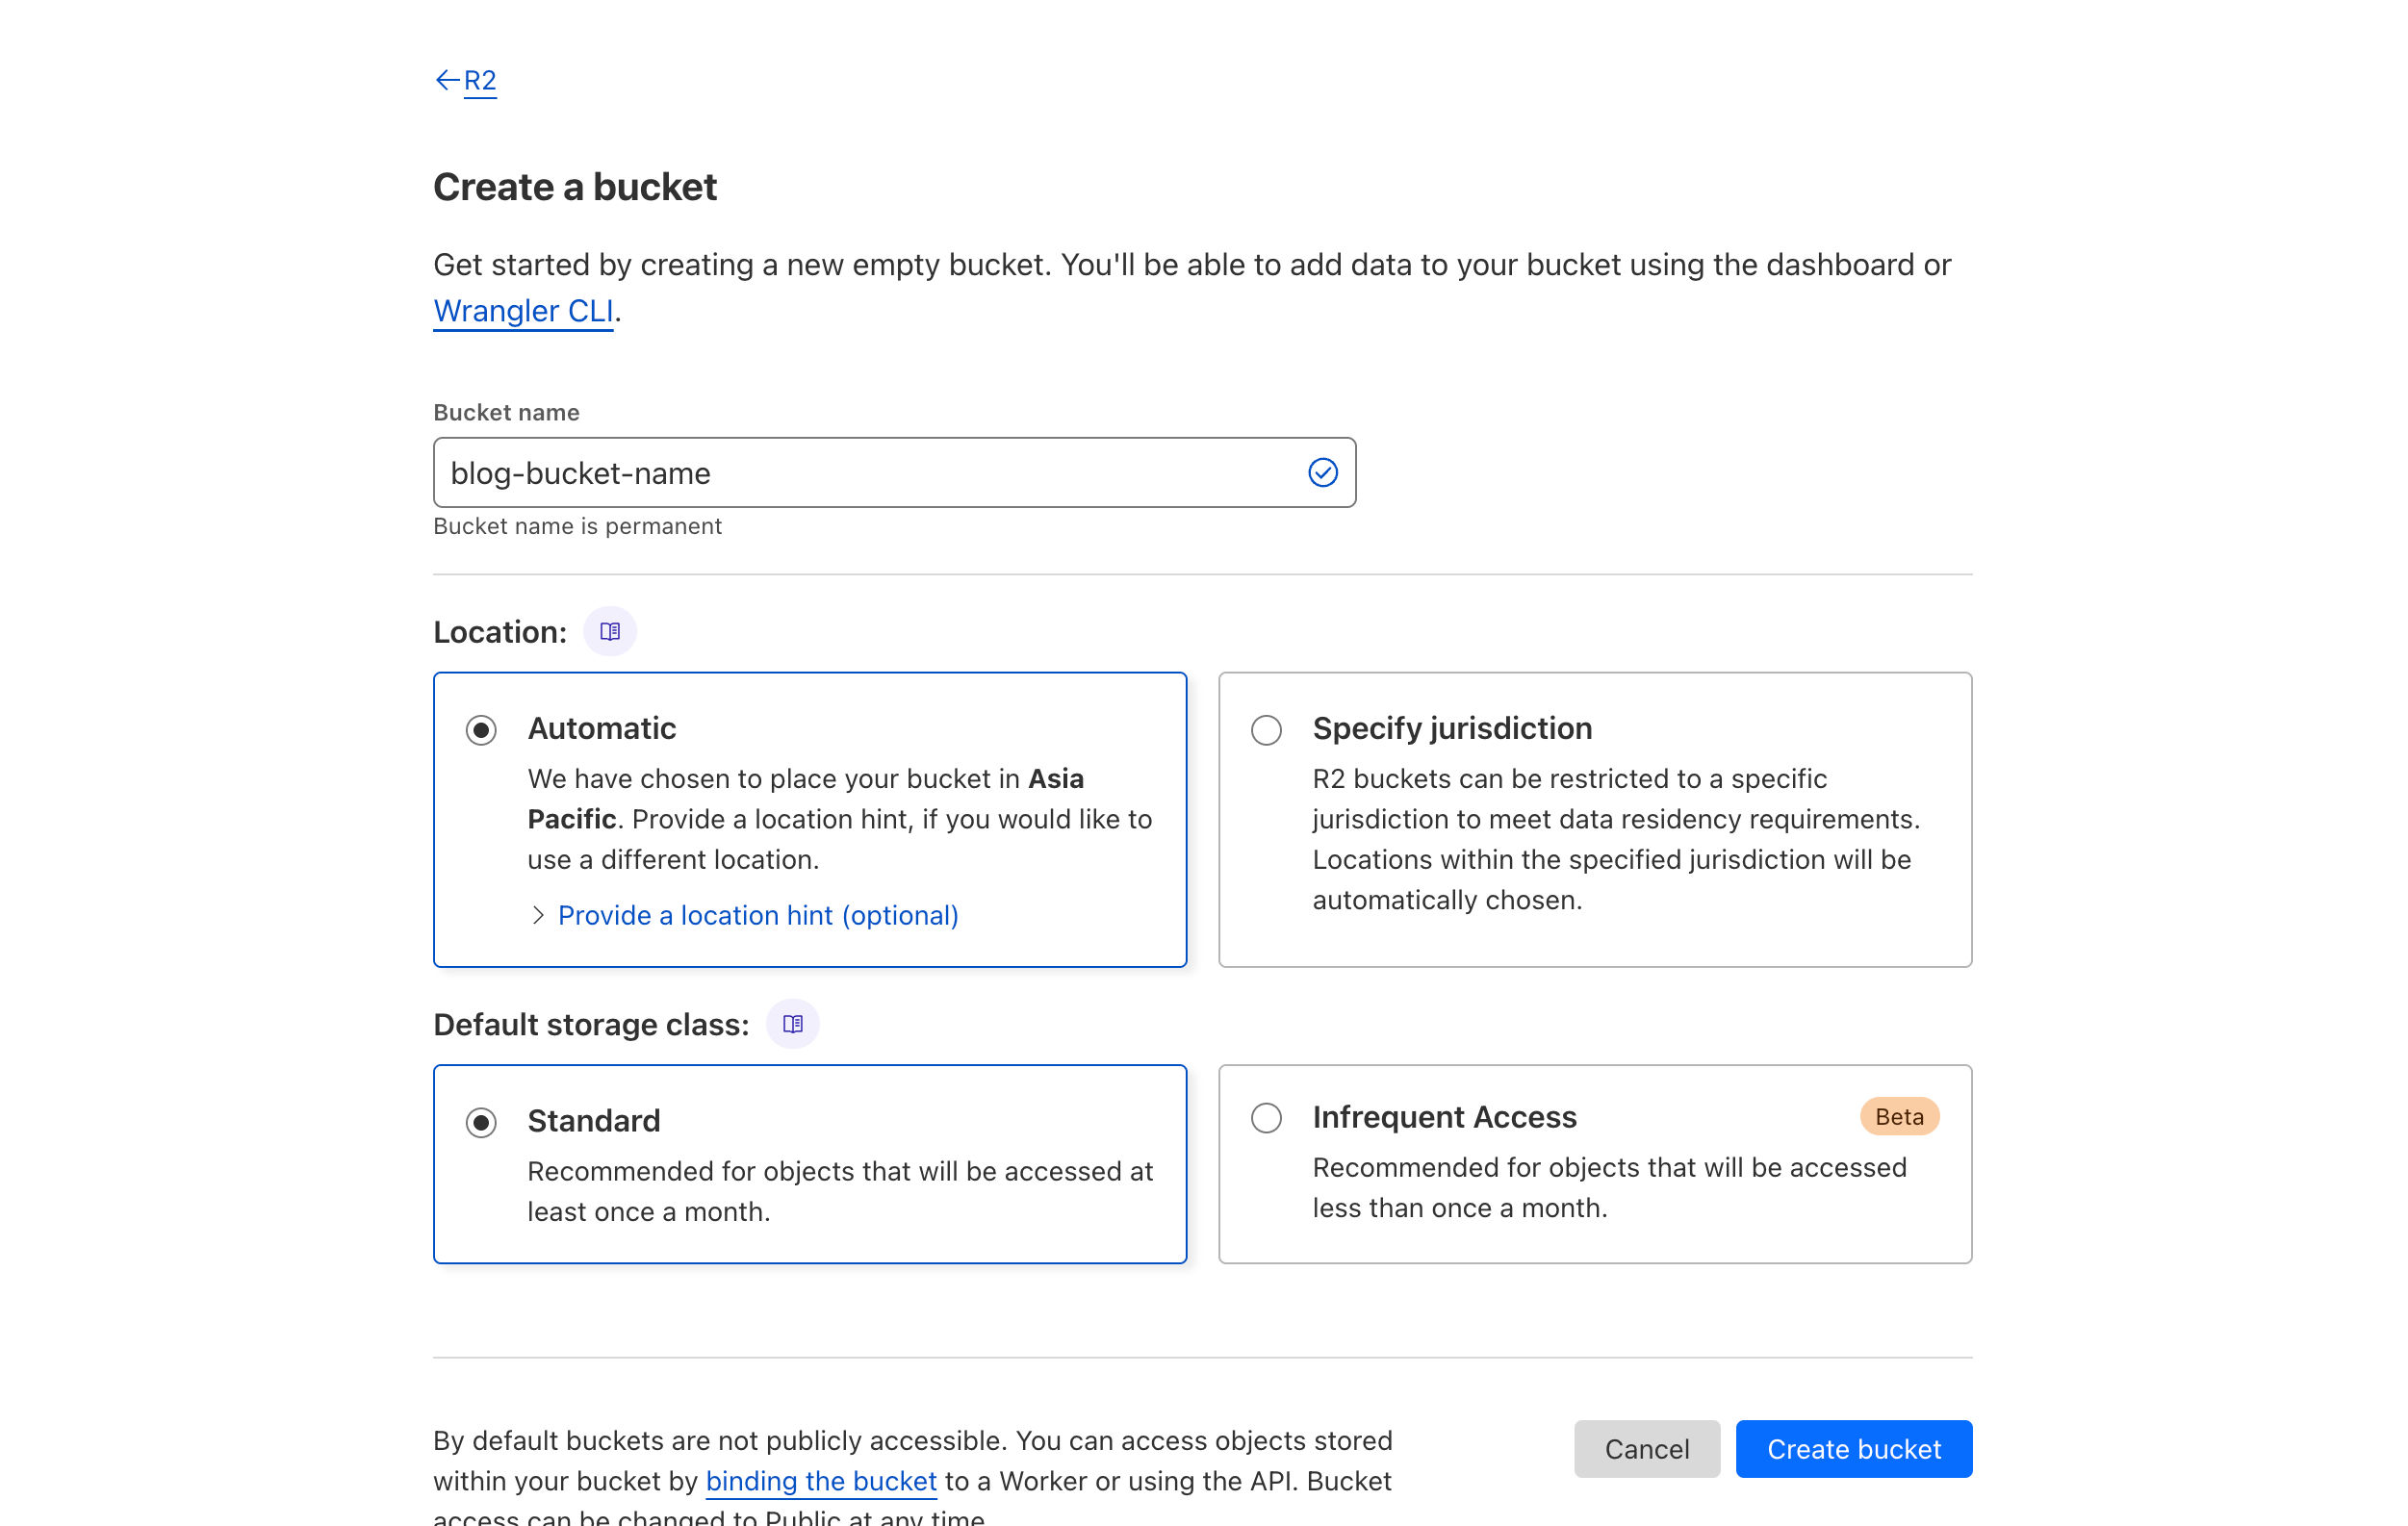
Create a new bucket in Cloudflare R2 and save the name as AWS_S3_BUCKET_NAME in the environment variables (.env & wrangler.toml)
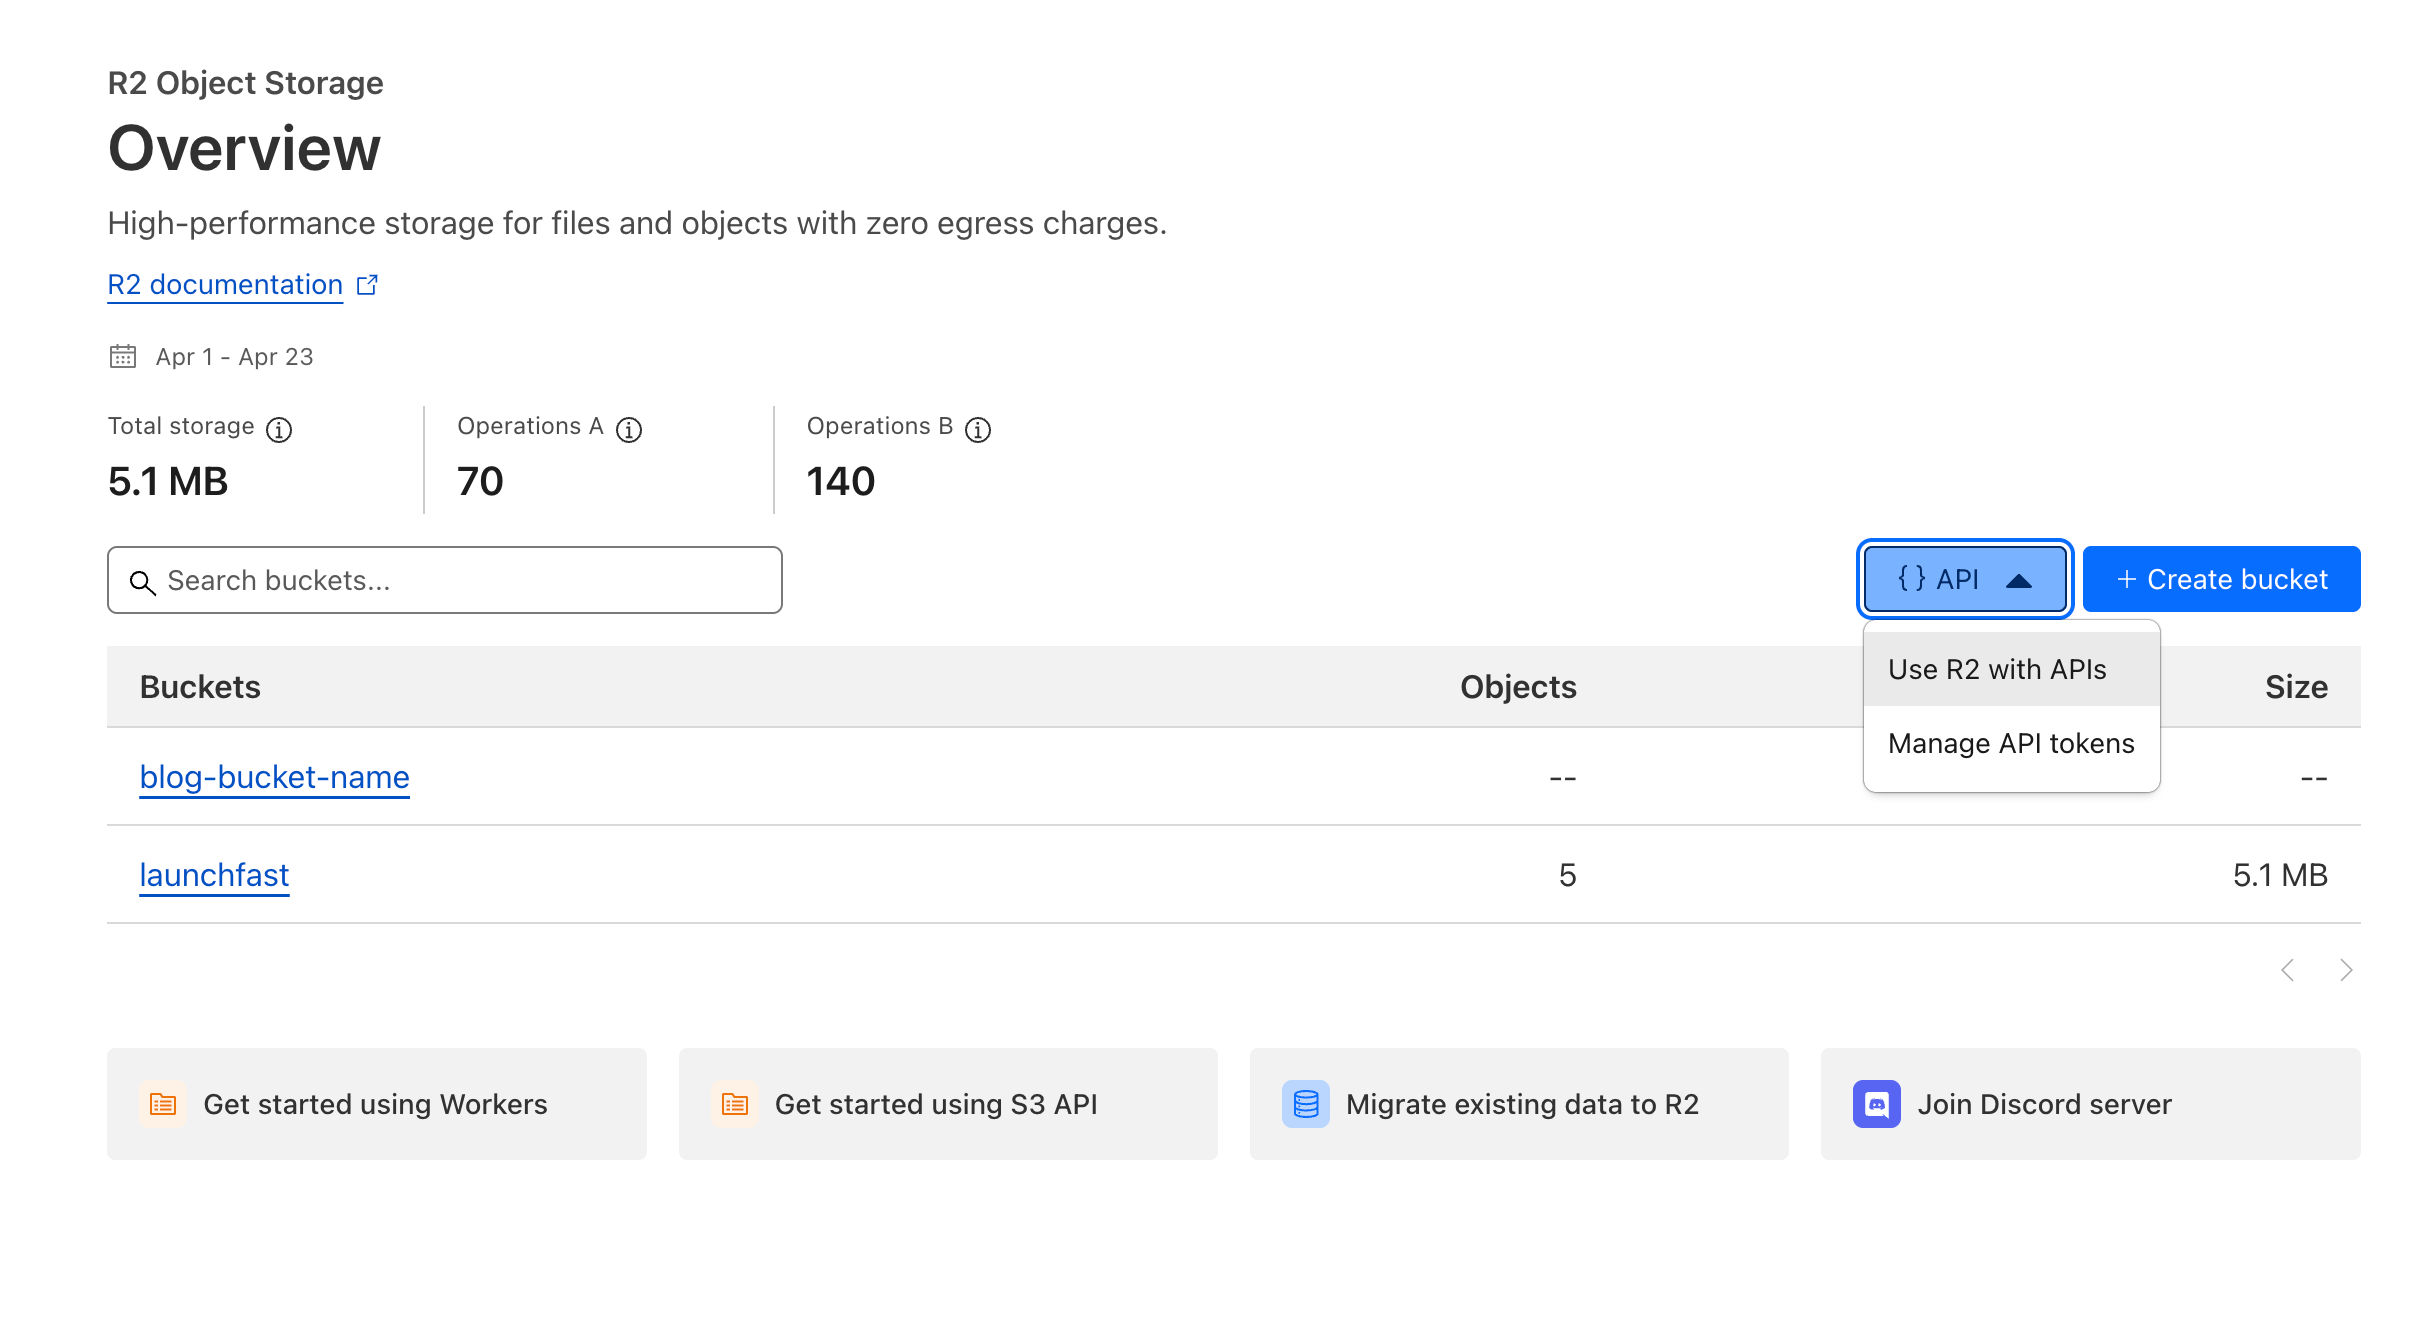
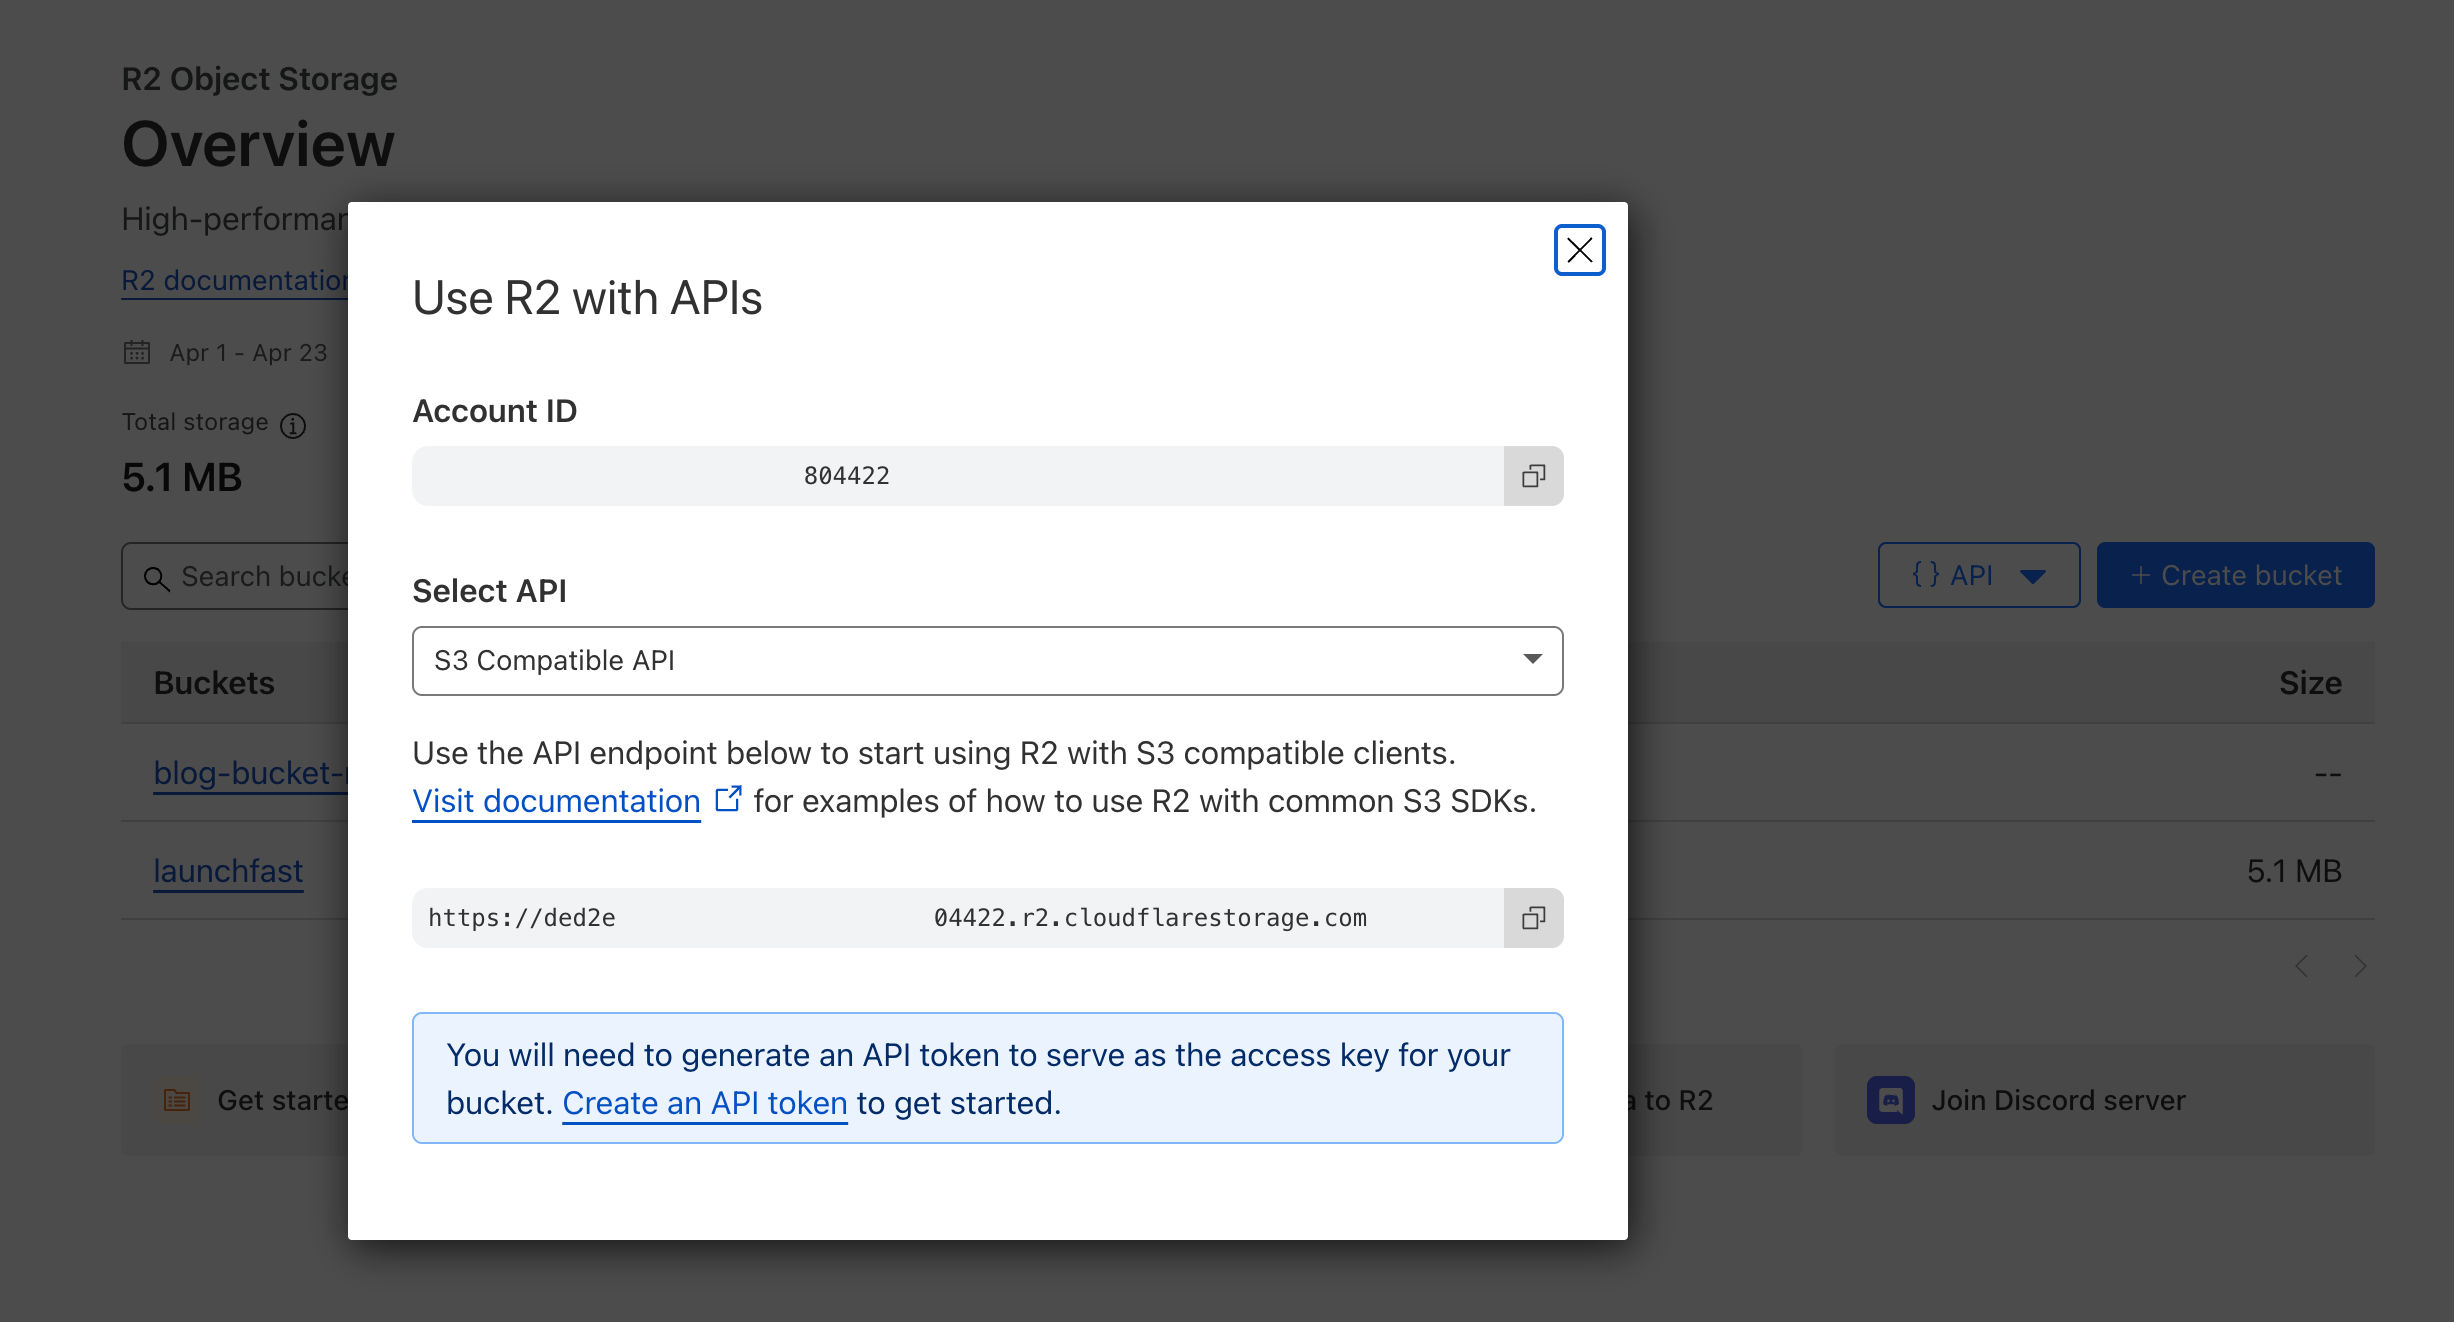
Access the R2 Account Details in Cloudflare R2.
Retrieve the Cloudflare R2 Account ID and save it as CLOUDFLARE_R2_ACCOUNT_ID in the environment variables (.env & wrangler.toml)
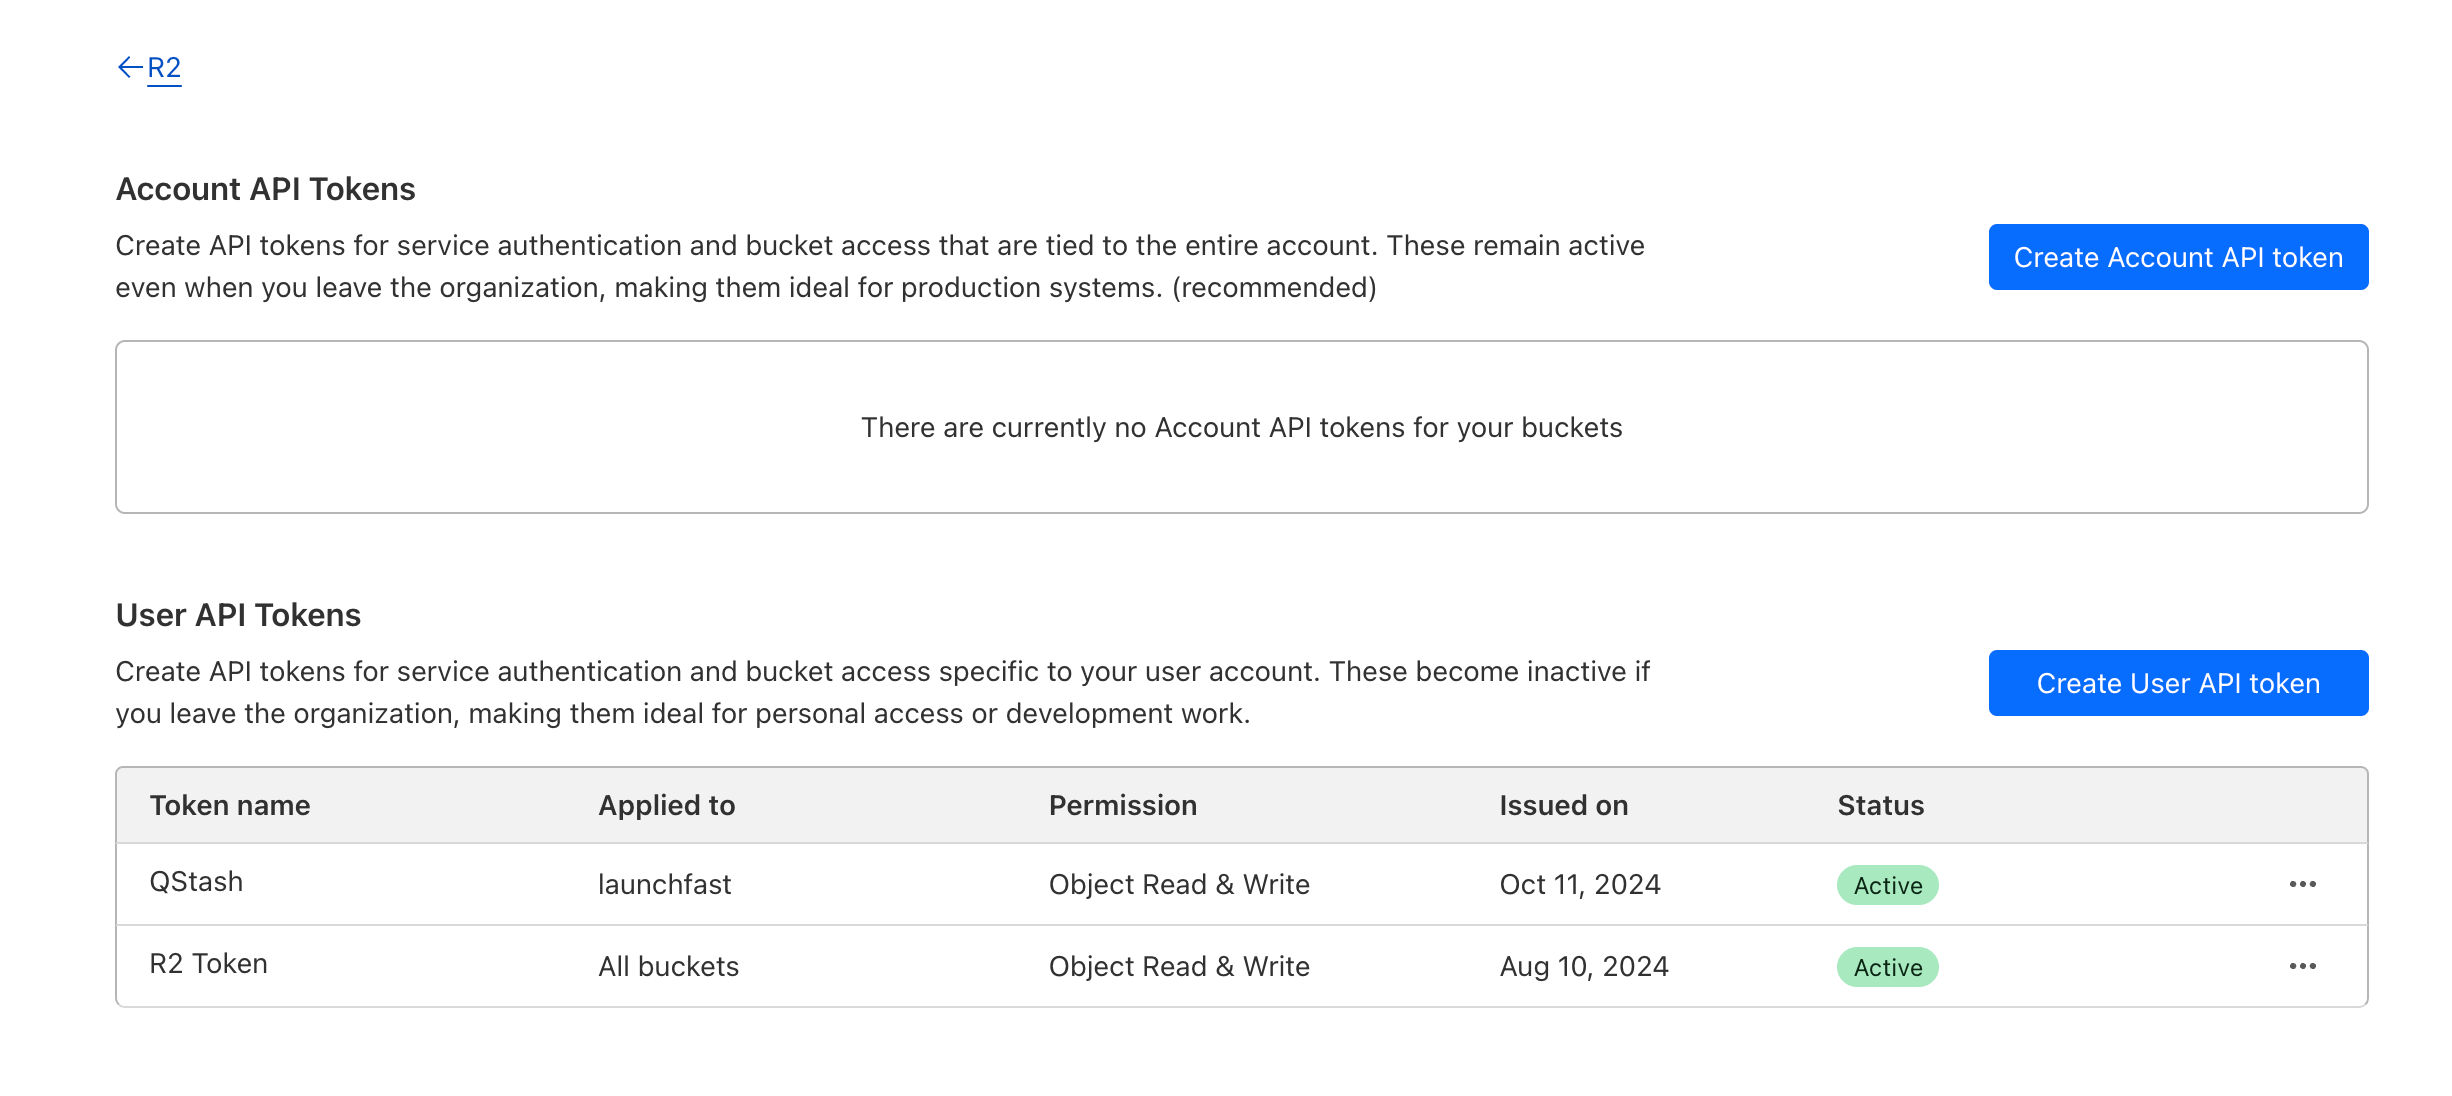
Create an API token in Cloudflare R2.
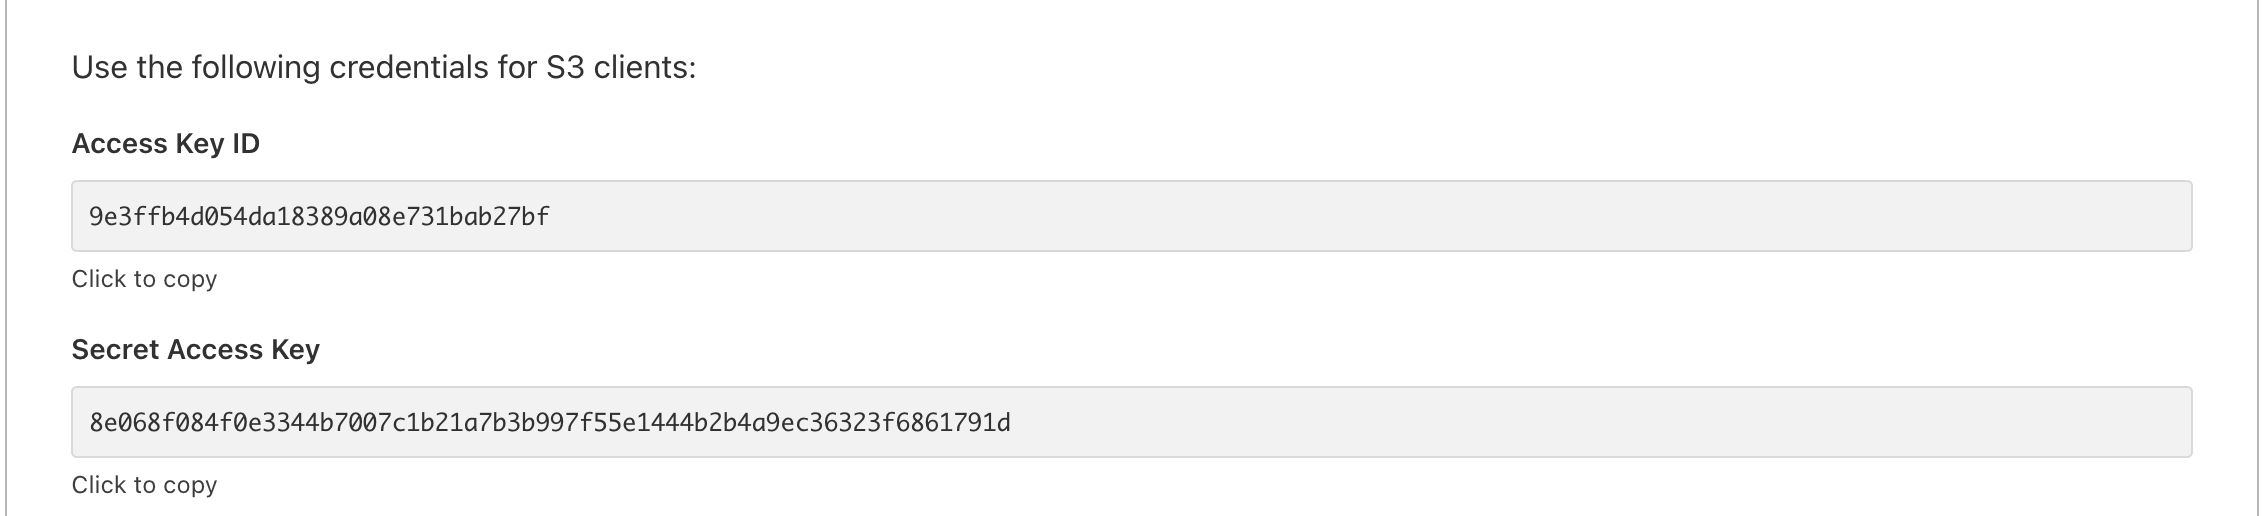
Obtain the Access Key ID and Secret Access Key from Cloudflare R2 and save them as AWS_KEY_ID and AWS_SECRET_ACCESS_KEY in the environment variables (.env & wrangler.toml) respectively.
Generate the pre-signed URLs
1. Access the Environment Variables
The first step is to access the necessary environment variables during the runtime to create an AWS Client via aws4fetch. From Astro 5.6 and beyond, the way you want to access runtime environment variables in your code is by using the getSecret function from astro:env/server to keep things provider agnostic. This is crucial for storing sensitive information securely without hardcoding it into your application. You’ll retrieve the following variables:
Next, you’ll define the defineAws4Fetch function that creates an AWS client instance. This function checks if the required AWS credentials are set and returns a new AwsClient instance configured for R2.
thrownewError(`AWS_KEY_ID OR AWS_SECRET_ACCESS_KEY environment variable(s) are not set.`)
}
returnnewAwsClient({
accessKeyId,
secretAccessKey,
service: 's3',
region: 'auto',
})
}
3. Determine R2 URLs
You’ll need to generate unique URLs for each file upload to Cloudflare R2. The getR2URL function below takes care of constructing the correct URL based on the file name and the bucket name.
src/storage/r2.ts
// ...Existing Code...
functiongetR2URL({ Key }: { Key:string }) {
if (!s3BucketName) {
thrownewError(`AWS_S3_BUCKET_NAME environment variable(s) are not set.`)
The getR2ObjectURL function below retrieves an object’s pre-signed URL from Cloudflare R2. It generates a signed request that allows you to access the file securely.
The uploadR2ObjectURL function below is responsible for generating a pre-signed URL for uploading a file to Cloudflare R2. It follows a similar structure to the getR2ObjectURL function, generating a signed URL that allows you to upload files securely.
In this blog post, you learned how to integrate Cloudflare R2 with Astro and Cloudflare Workers for file uploads and retrieval. By following the implementation steps, you can securely upload and retrieve files from Cloudflare R2, ensuring that your web application has a robust and flexible storage solution.
If you would like to explore specific sections in more detail, expand on certain concepts, or cover additional related topics, please let me know, and I’ll be happy to assist!


 ℹ️ Available today with LaunchFast Starter Kits