 ℹ️ Available today with LaunchFast Starter Kits
1,422 words8 min read
Deploy SvelteKit to AWS Amplify
How to deploy your SvelteKit Server-Side Rendered (SSR) websites to AWS Amplify.
ℹ️ Available today with LaunchFast Starter Kits
How to deploy your SvelteKit Server-Side Rendered (SSR) websites to AWS Amplify.
ℹ️ Available today with LaunchFast Starter Kits
In this guide, you will learn how to deploy an SvelteKit SSR project to AWS Amplify. You will go through the process of setting up a new SvelteKit project, enabling server-side rendering using AWS Amplify adapter, and finally deploying it to AWS Amplify.
You’ll need the following:
Let’s get started by creating a new SvelteKit project. Open your terminal and run the following command:
npm create svelte@latest my-appnpm create svelte is the recommended way to scaffold an SvelteKit project quickly.
When prompted, choose:
SvelteKit demo app when prompted to select the app template.Yes, using TypeScript syntax when prompted to add type checking with TypeScript.Add Prettier for code formatting when prompted to select additional options.Once that’s done, you can move into the project directory, install the dependencies and start the app:
cd my-appnpm installnpm run devThe app should be running on localhost:5173.
Next, in your first terminal window, run the command below to install the necessary libraries and packages for building the application:
npm install dotenv @vercel/nftnpm install -D prepend-fileThe libraries installed include:
dotenv: A library for handling environment variables.@vercel/nft: A library to determine all the files necessary for the application runtime using entrypoint(s).The development-specific libraries include:
prepend-file: A library to prepend data to a file.Before deploying your SvelteKit project, you need to install the @sveltejs/adapter-node adapter. Execute the following command in your terminal window:
npm install @sveltejs/adapter-nodeThe libraries installed include:
@sveltejs/adapter-node: An adapter that prepares SvelteKit websites to be ran as standalone Node.js server.Once the adapter is installed, you’ll need to add it to your svelte.config.js file. Open the file and add the following code:
import adapter from '@sveltejs/adapter-auto';import adapter from '@sveltejs/adapter-node';import { vitePreprocess } from '@sveltejs/kit/vite'
/** @type {import('@sveltejs/kit').Config} */const config = {  // Consult https://kit.svelte.dev/docs/integrations#preprocessors  // for more information about preprocessors  preprocess: vitePreprocess(),
  kit: {    // adapter-auto only supports some environments, see https://kit.svelte.dev/docs/adapter-auto for a list.    // If your environment is not supported or you settled on a specific environment, switch out the adapter.    // See https://kit.svelte.dev/docs/adapters for more information about adapters.    adapter: adapter()  }};
export default config;
The additions do the following:
@sveltejs/adapter-node.adapter of your SvelteKit application.Then, create a amplify.mjs file at the root of repository with the following code:
import { join } from 'node:path'import { nodeFileTrace } from '@vercel/nft'import { sync as prependSync } from 'prepend-file'import { writeFileSync, mkdirSync, existsSync, cpSync, rmSync } from 'node:fs'
// Define all the Amplify related directoriesconst amplifyDirectories = [  join(process.cwd(), '.amplify-hosting'),  join(process.cwd(), '.amplify-hosting', 'static'),  join(process.cwd(), '.amplify-hosting', 'compute'),  join(process.cwd(), '.amplify-hosting', 'compute', 'default'),  join(process.cwd(), '.amplify-hosting', 'compute', 'default', 'node_modules'),]
// Create directories if they do no exist alreadyif (existsSync(amplifyDirectories[0])) rmSync(amplifyDirectories[0], { force: true, recursive: true })
// Create directories if they do no exist alreadyamplifyDirectories.forEach((i) => mkdirSync(i))
const deployManifestConfig = {  version: 1,  routes: [    {      path: `/assets/*`,      target: {        kind: 'Static',      },    },    {      path: `/*.*`,      target: {        kind: 'Static',      },      fallback: {        kind: 'Compute',        src: 'default',      },    },    {      path: '/*',      target: {        kind: 'Compute',        src: 'default',      },    },  ],  computeResources: [    {      name: 'default',      runtime: 'nodejs18.x',      entrypoint: 'build/index.js',    },  ],  framework: {    name: 'sveltekit',    version: '1.20.4',  },}
// Write the config to .amplify-hosting/deploy-manifest.jsonwriteFileSync(join(process.cwd(), '.amplify-hosting', 'deploy-manifest.json'), JSON.stringify(deployManifestConfig))
// Move the build/client to the static directory for AmplifycpSync(join(process.cwd(), 'build', 'client'), amplifyDirectories[1], { recursive: true })
// Ref: https://rishi.app/blog/using-vercel-nft-to-compute-runtime-dependencies-for-your-remix-express-app/async function computeDependencies(paths = []) {  // the whole app inside index.js,  // include other paths that are  // not bundled with your app builds  const files = paths  // Compute file trace  const { fileList } = await nodeFileTrace(files)  // Store set of packages  let packages = {}  fileList.forEach((i) => {    if (i.includes('node_modules/')) {      let temp = i.replace('node_modules/', '')      temp = temp.substring(0, temp.indexOf('/'))      packages[`node_modules/${temp}`] = true    } else packages[i] = true  })  // Sort the set of packages by name (for easier difference comparison with git)  // Dump the list of the computed packages for further references while deploying the app  Object.keys(packages)    .sort()    .forEach((i) => {      cpSync(i, join(amplifyDirectories[3], i), { recursive: true })    })}
// Prepend dotenv import into the entrypointprependSync(join('build', 'index.js'), `import 'dotenv/config'\n`)
// Compute all the dependents on build/index.js and load them into the computecomputeDependencies(['./build/index.js'])
Then, create a amplify.yml file at the root of repository with the following code:
version: 1frontend: phases: preBuild: commands: - npm ci build: commands: - env >> .env - npm run build - node amplify.mjs artifacts: baseDirectory: .amplify-hosting files: - '**/*' cache: paths: - node_modules/**/*The code above does the following:
preBuild commands to install the dependencies of your SvelteKit project.build commands to:
.env file at the root of the project.node_modules directory and .env file to Amplify’s compute directory.The code is now ready to deploy to AWS Amplify. Use the following steps to deploy:
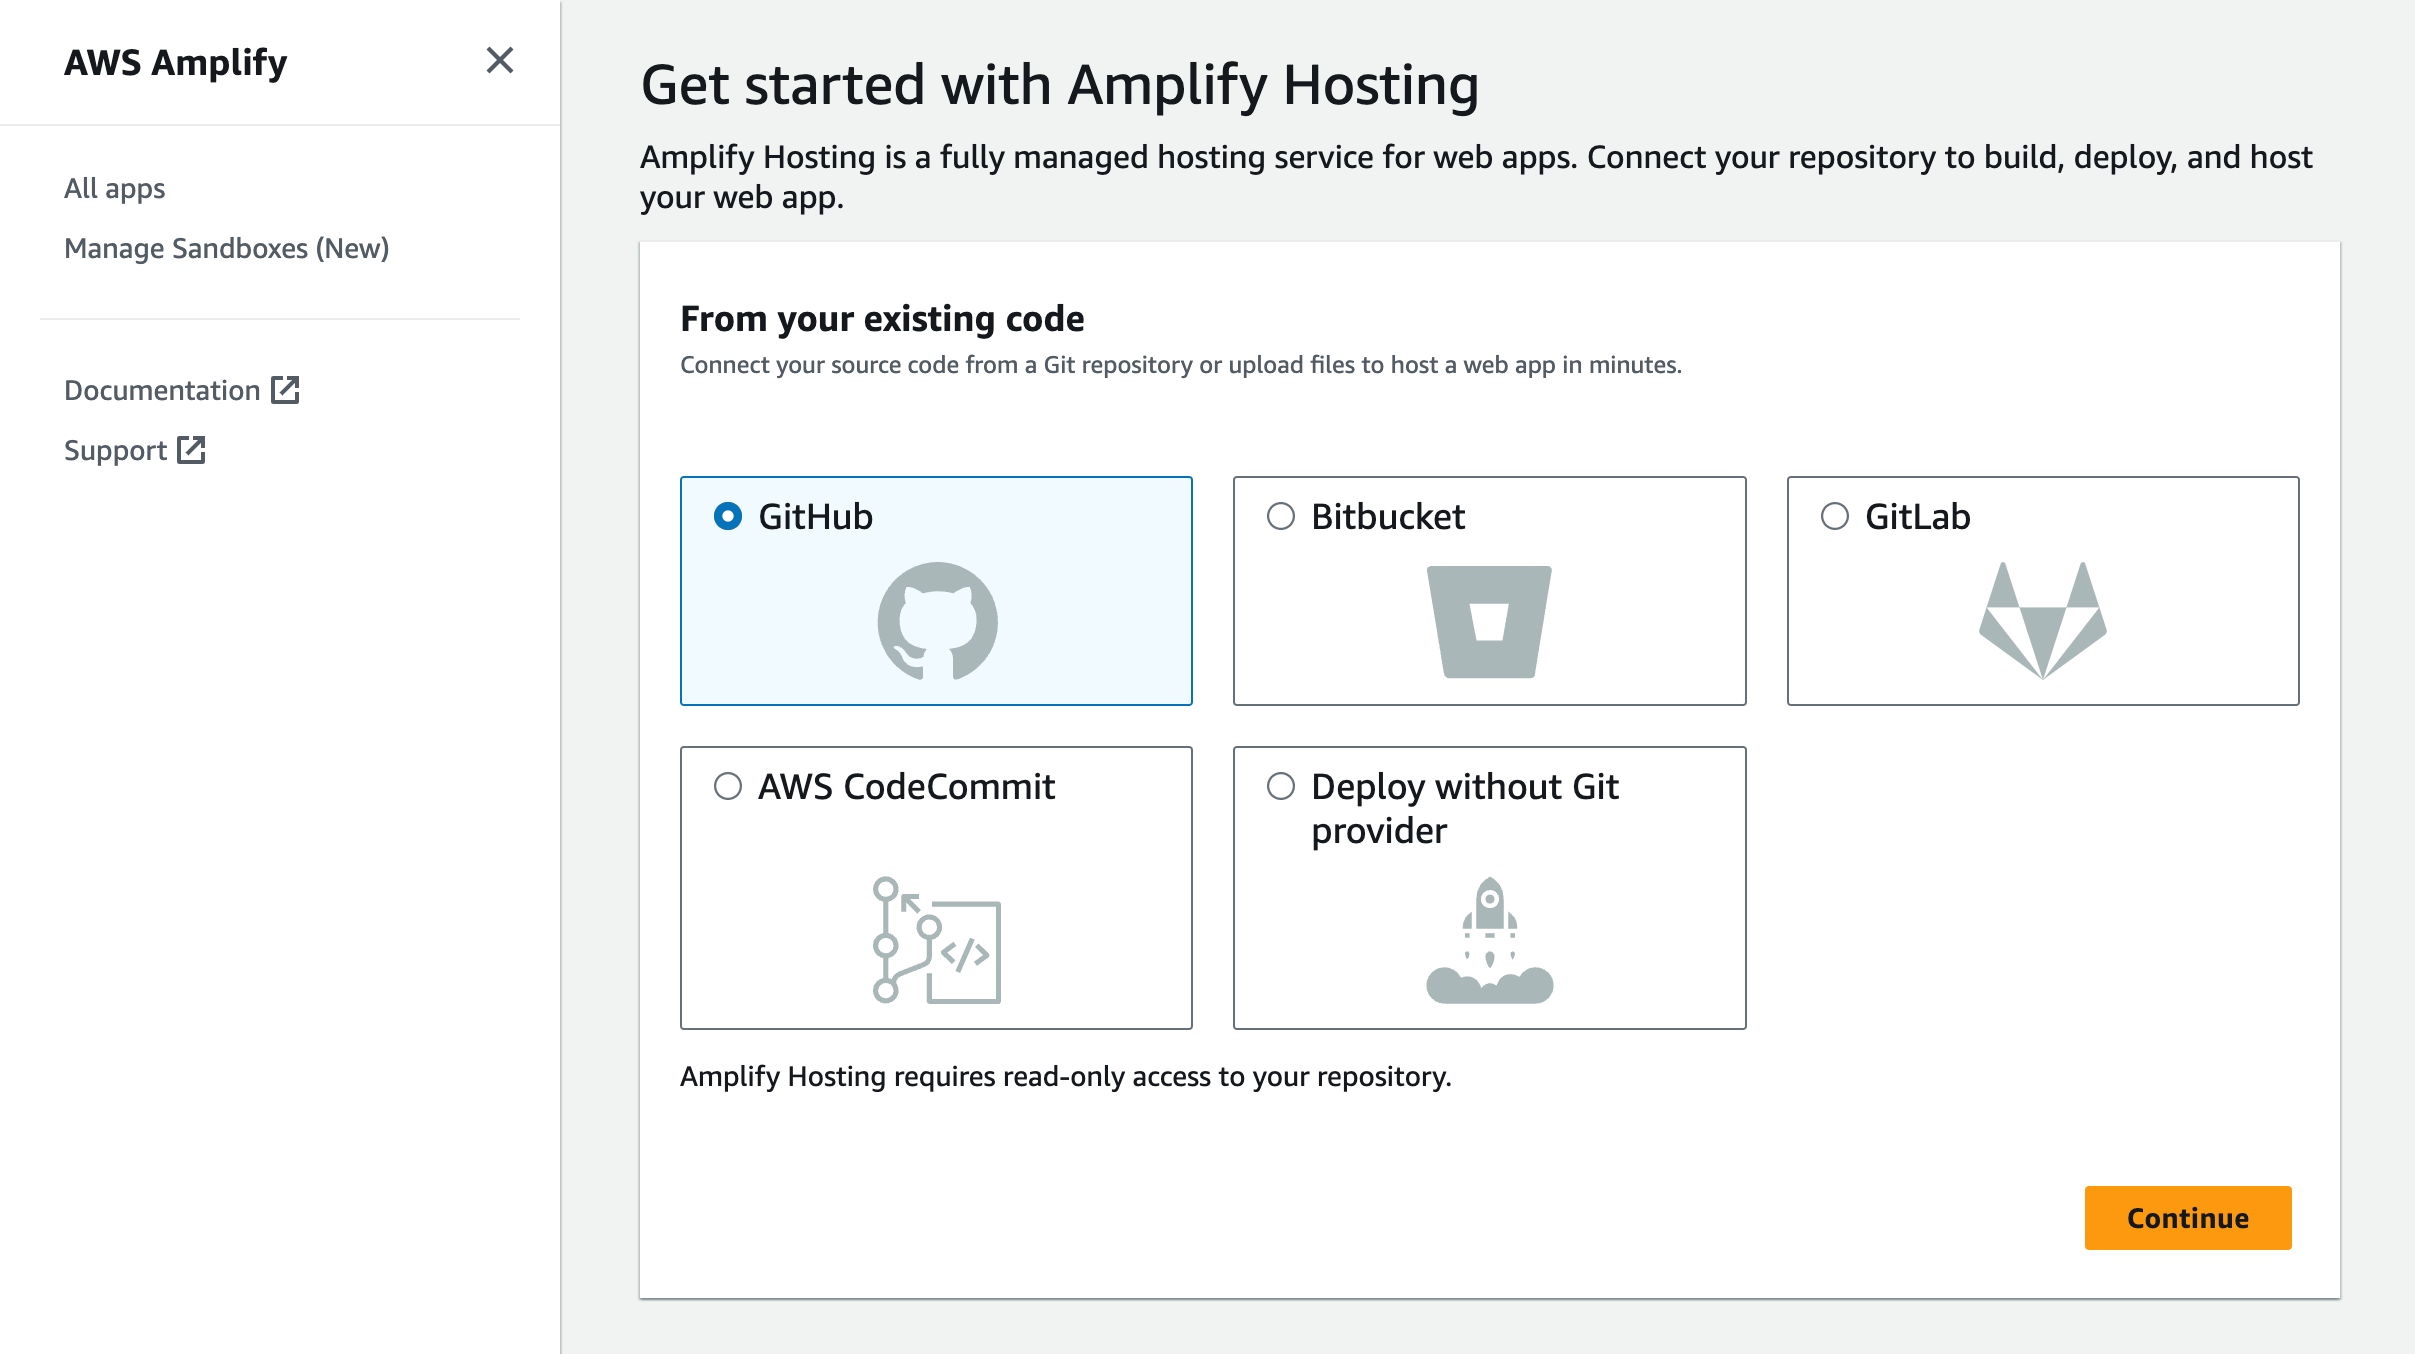
Start by creating a GitHub repository containing your app’s code.
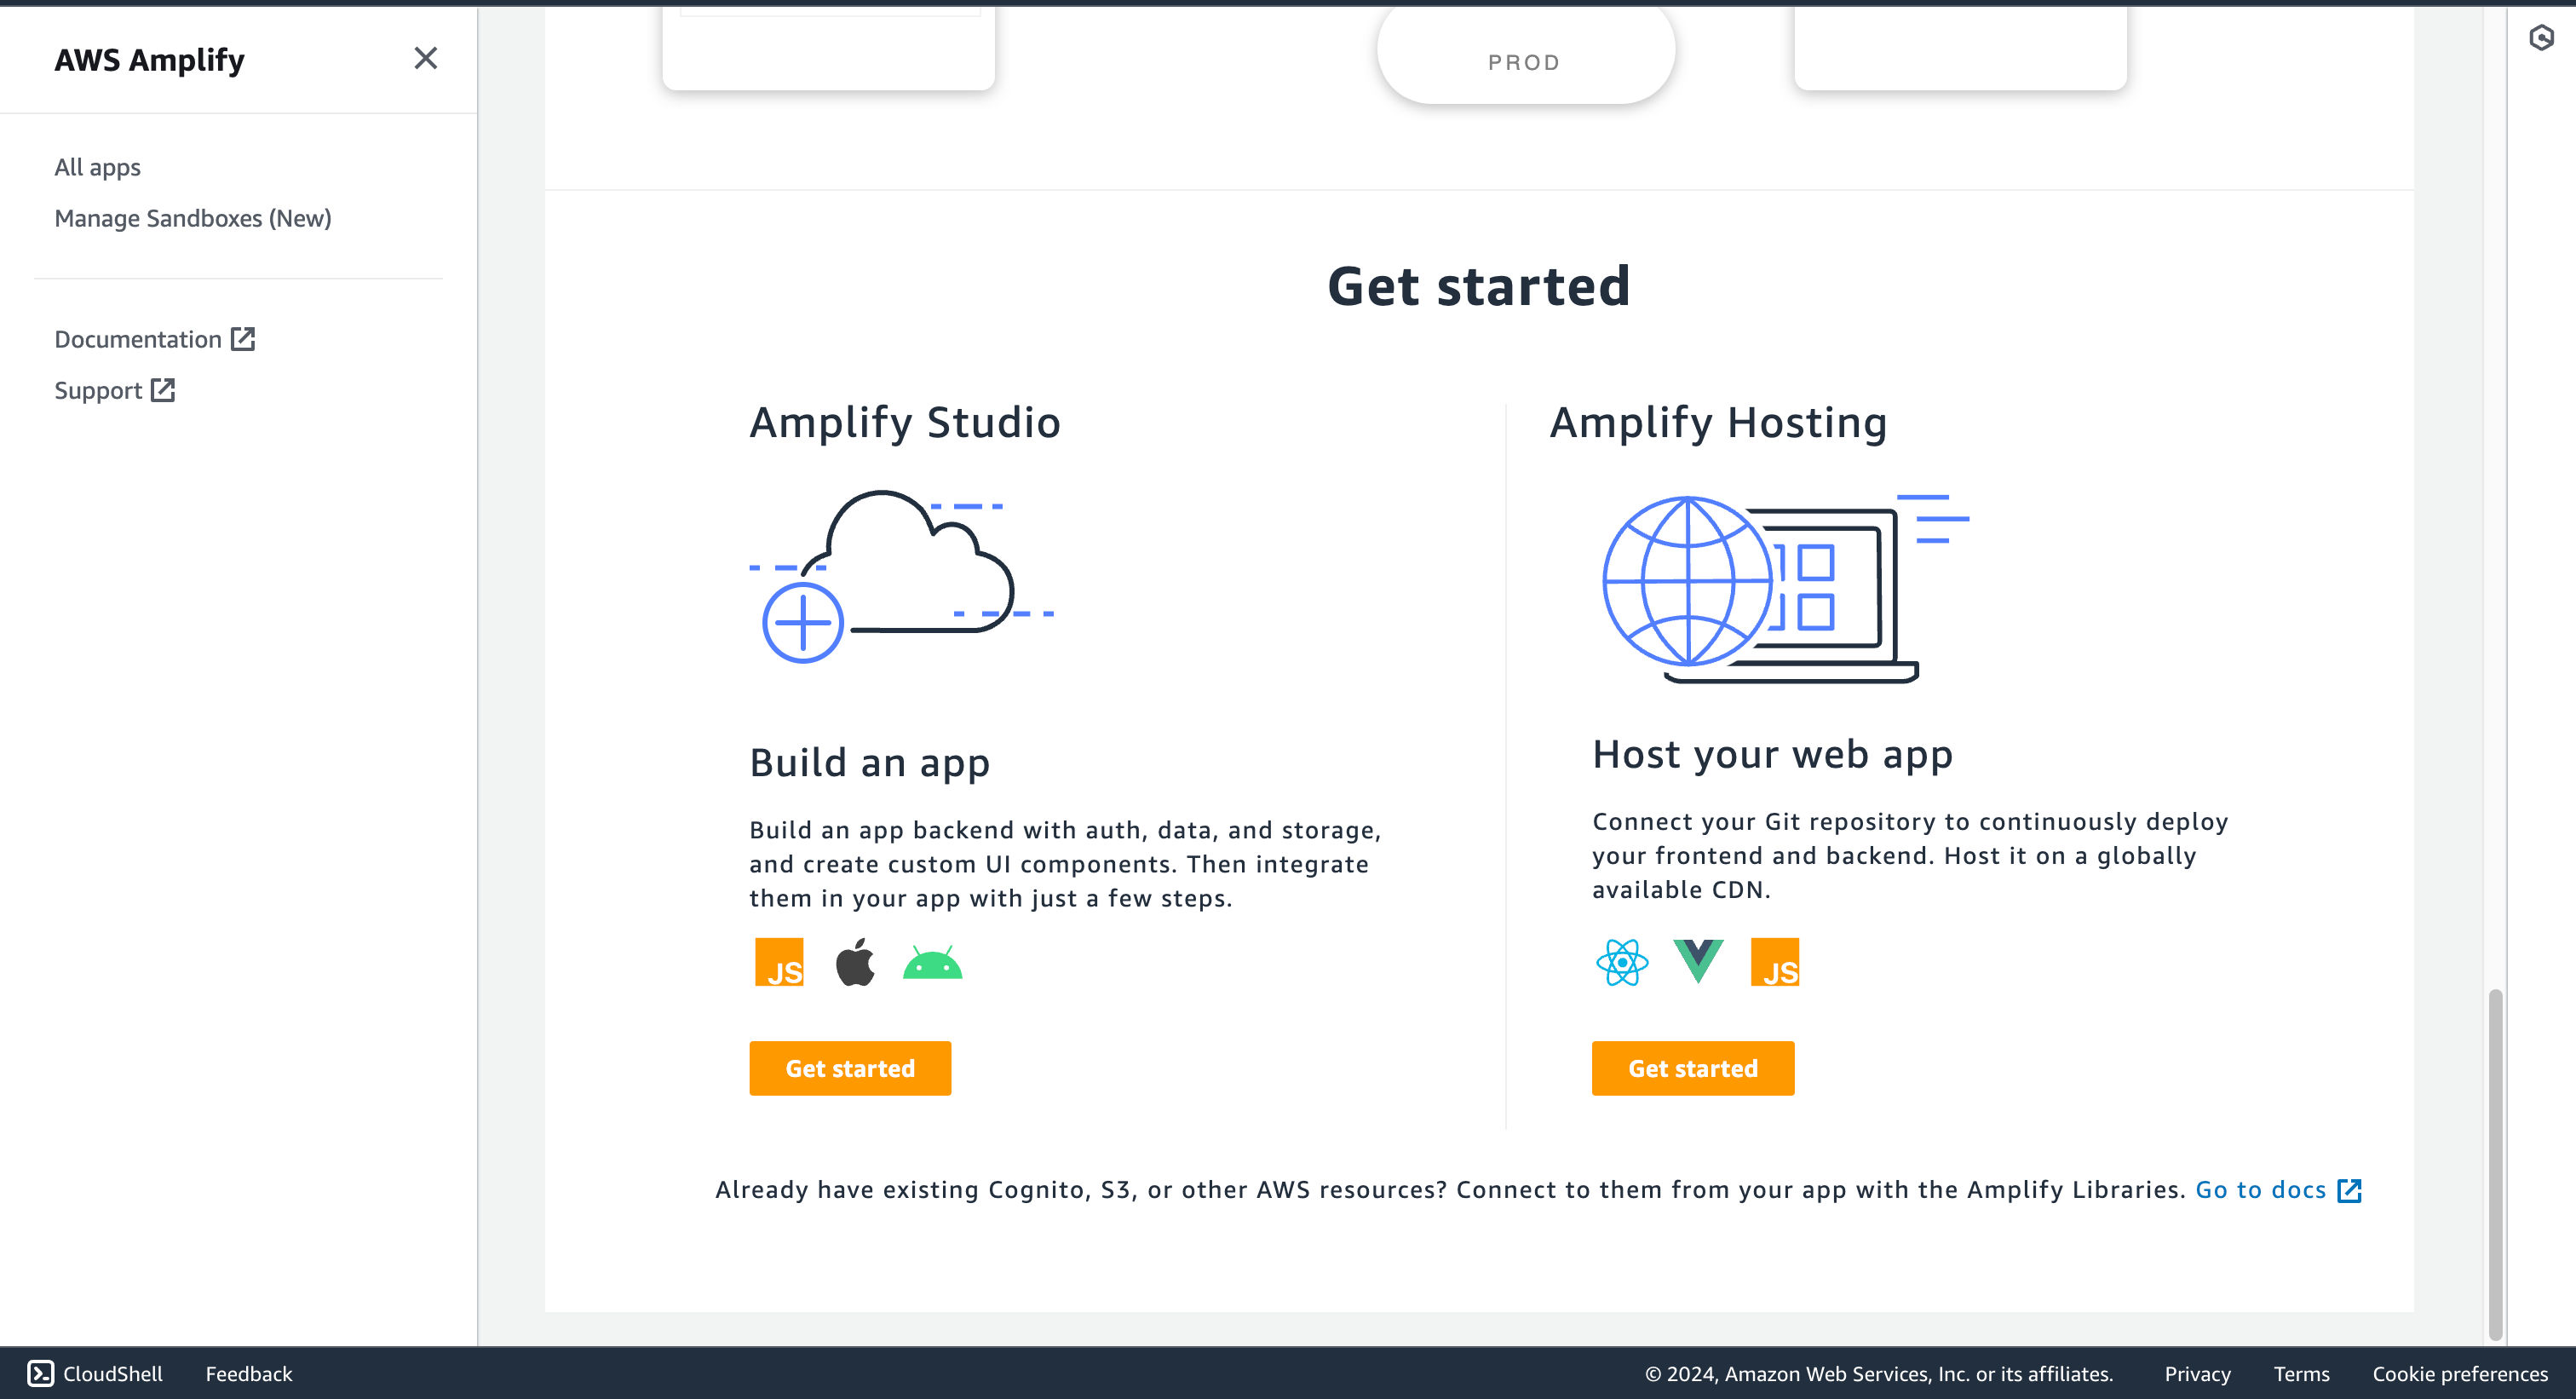
Then, navigate to the AWS Amplify Dashboard and click on Get Started under Host your web app section.
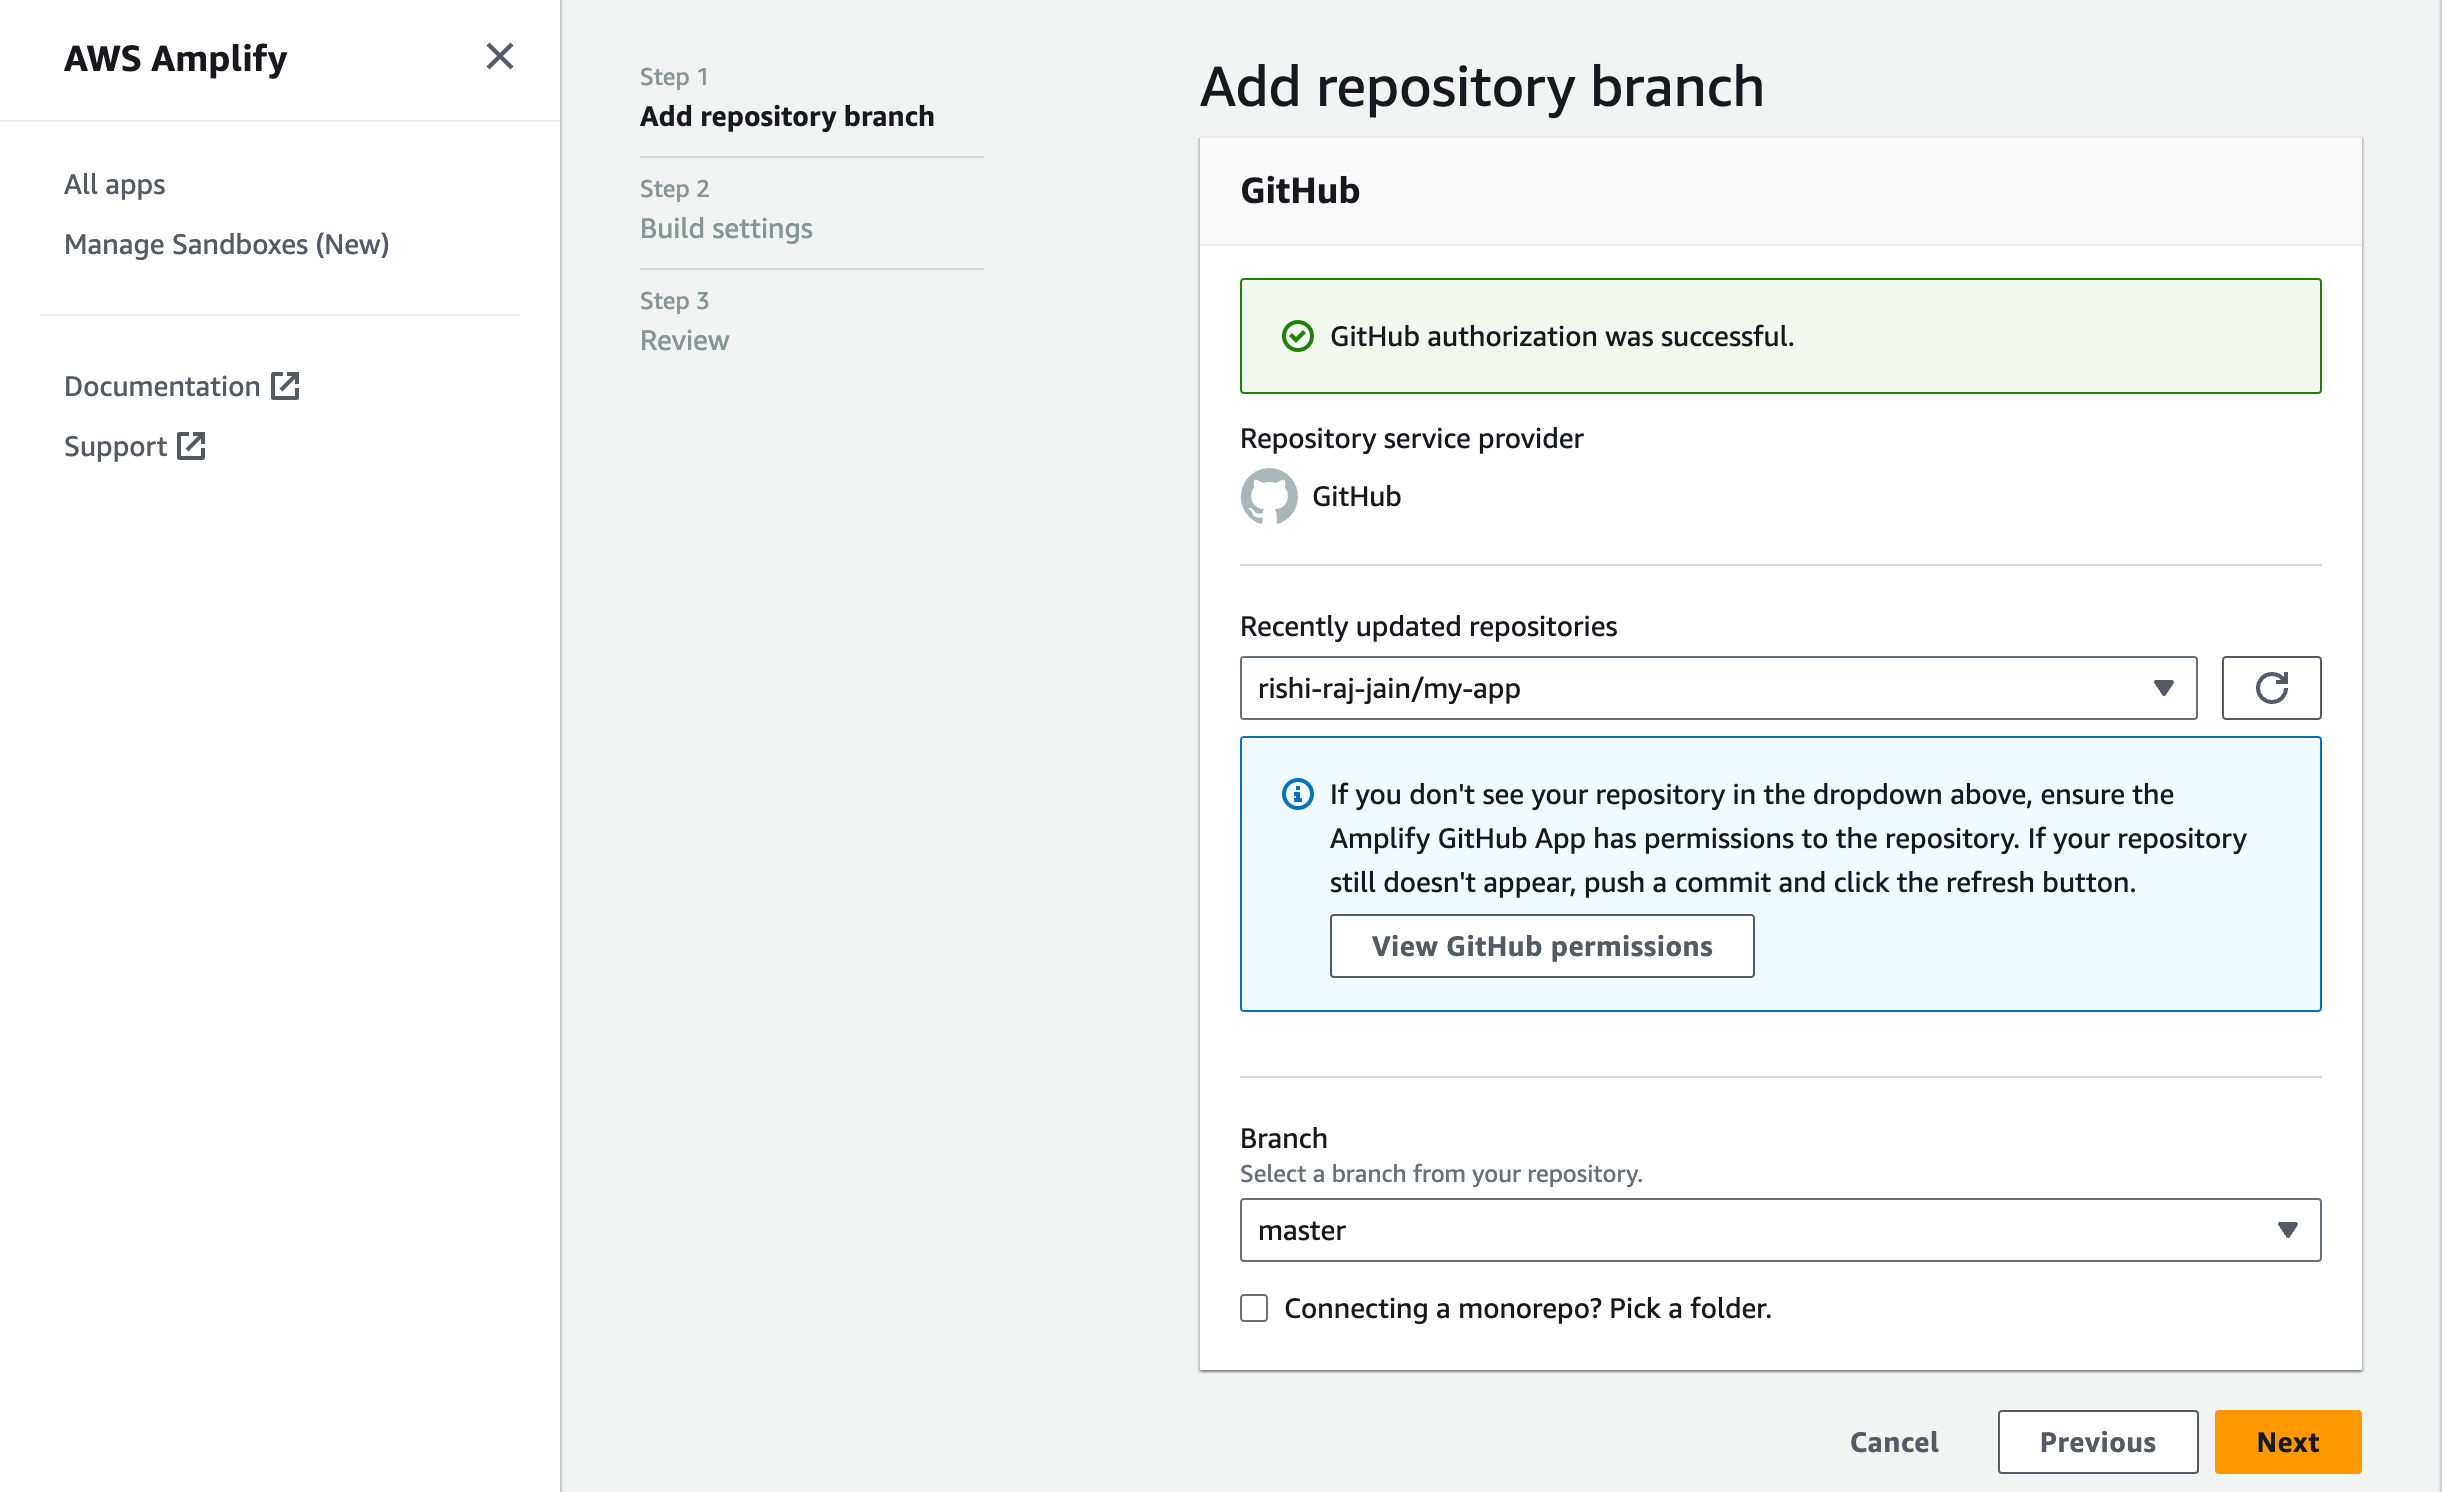
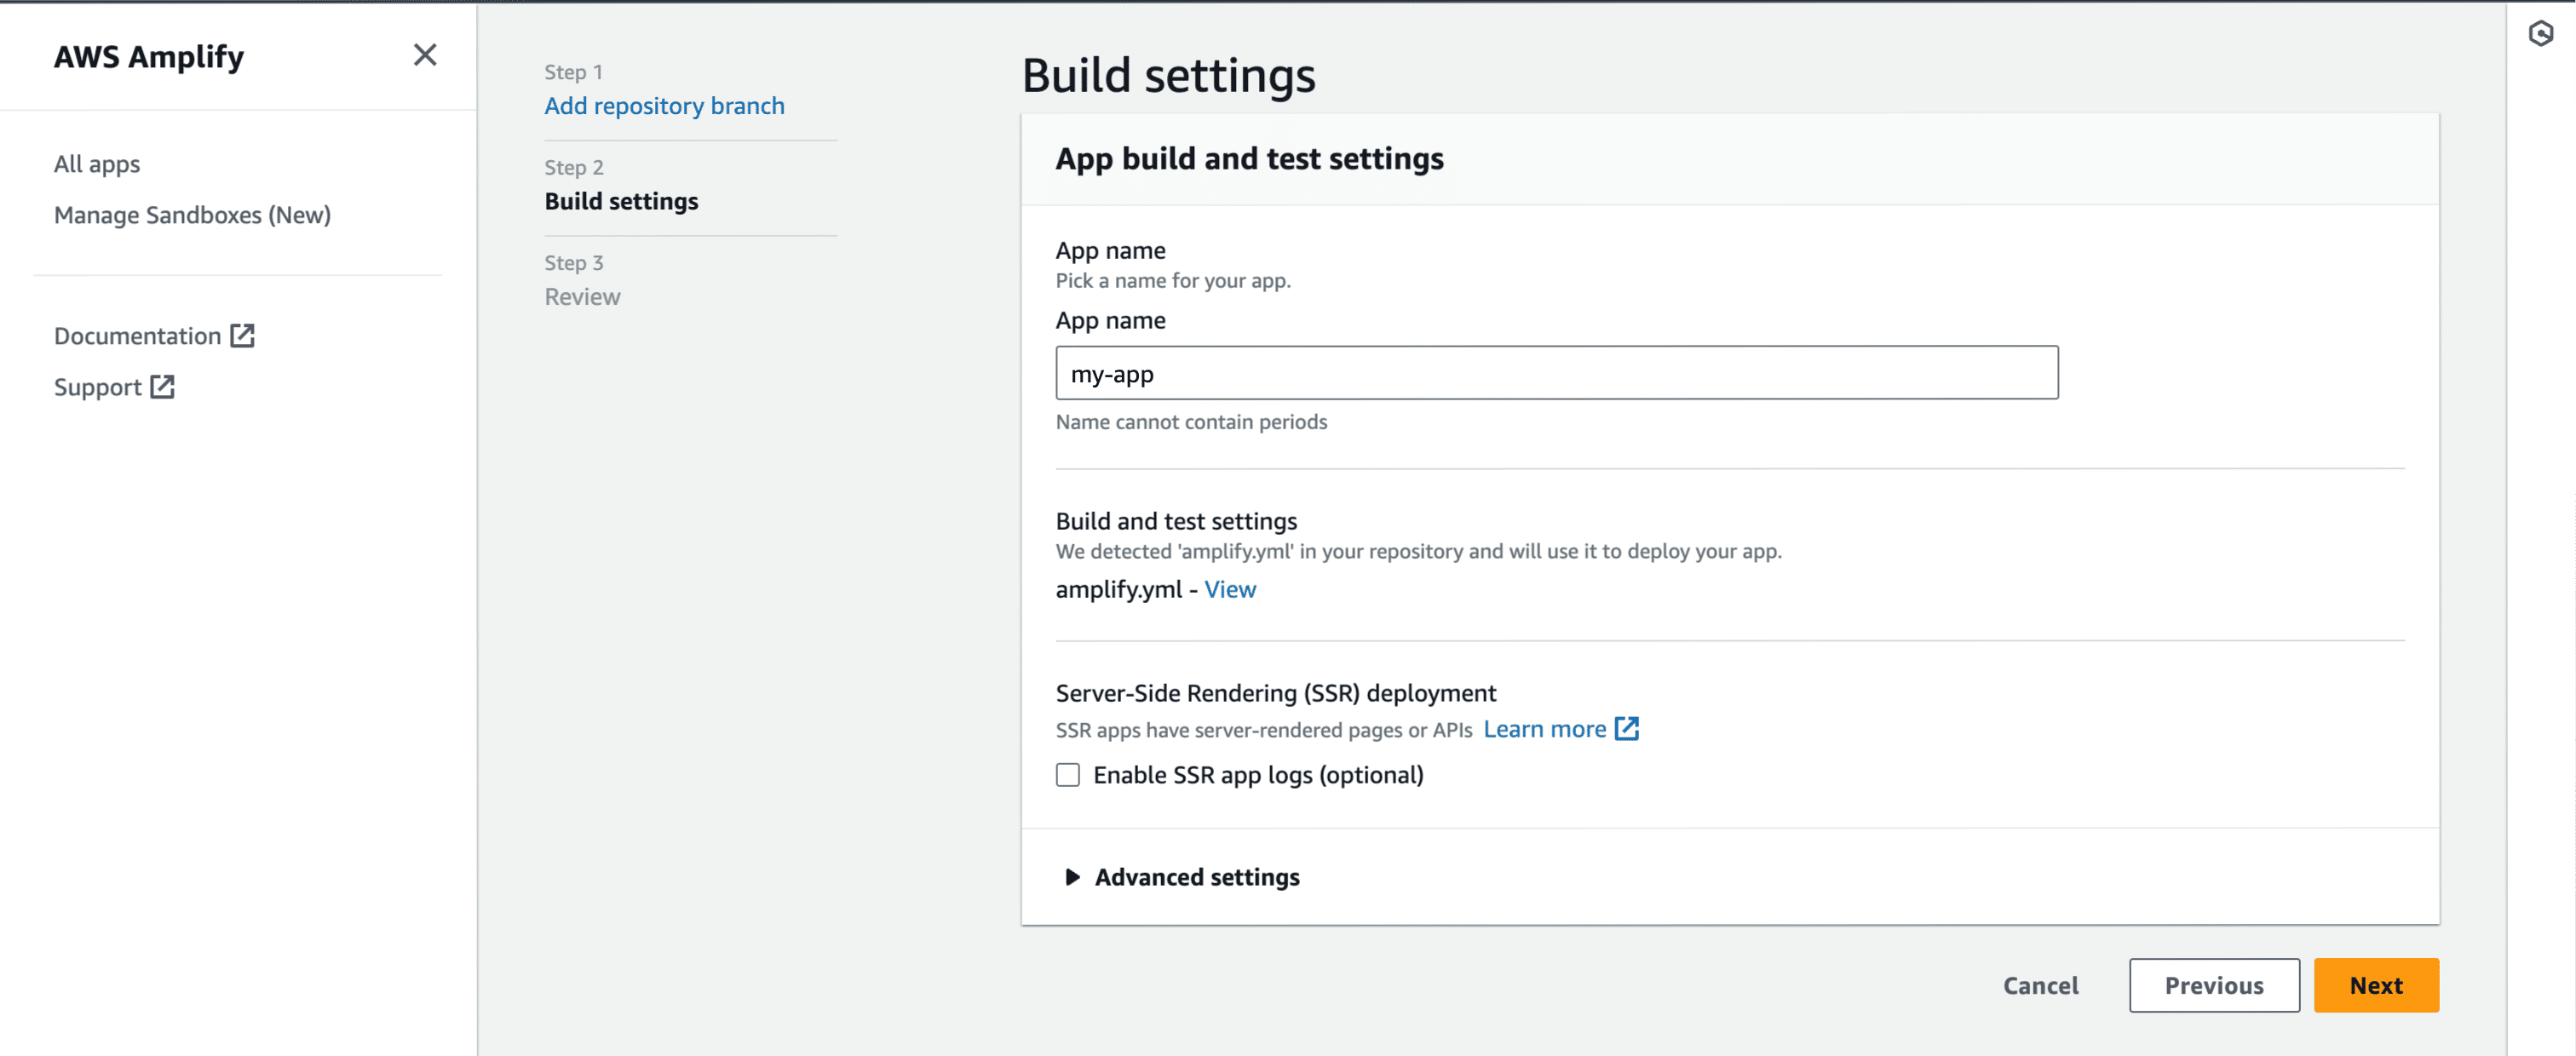
.env file, and PORT as 3000. Click Next to proceed.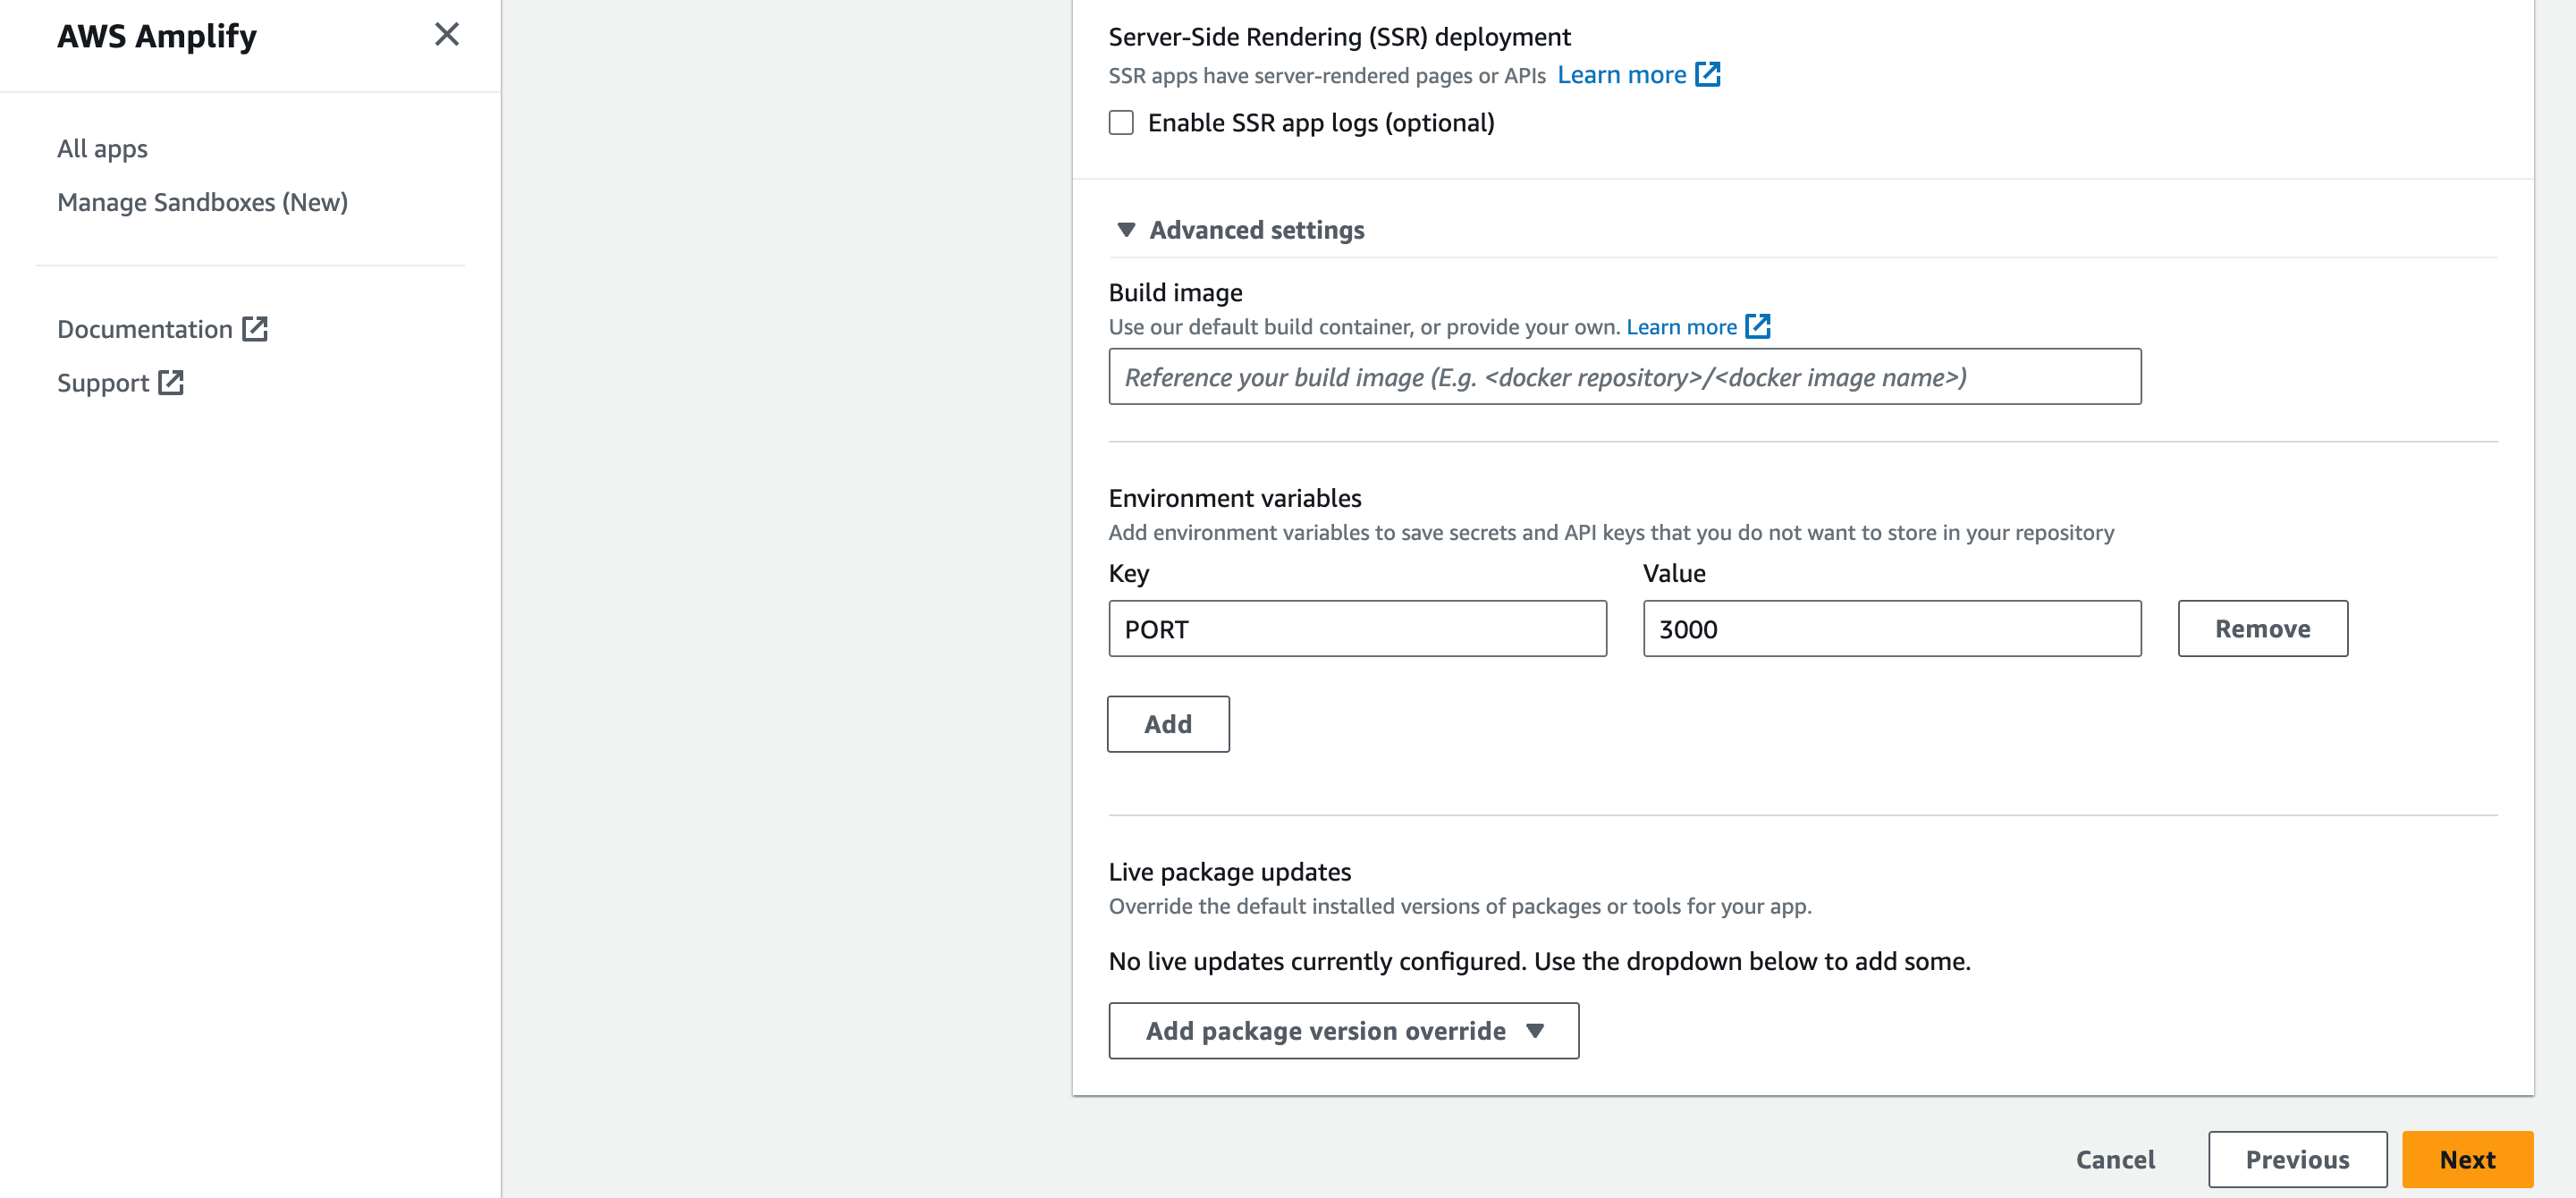
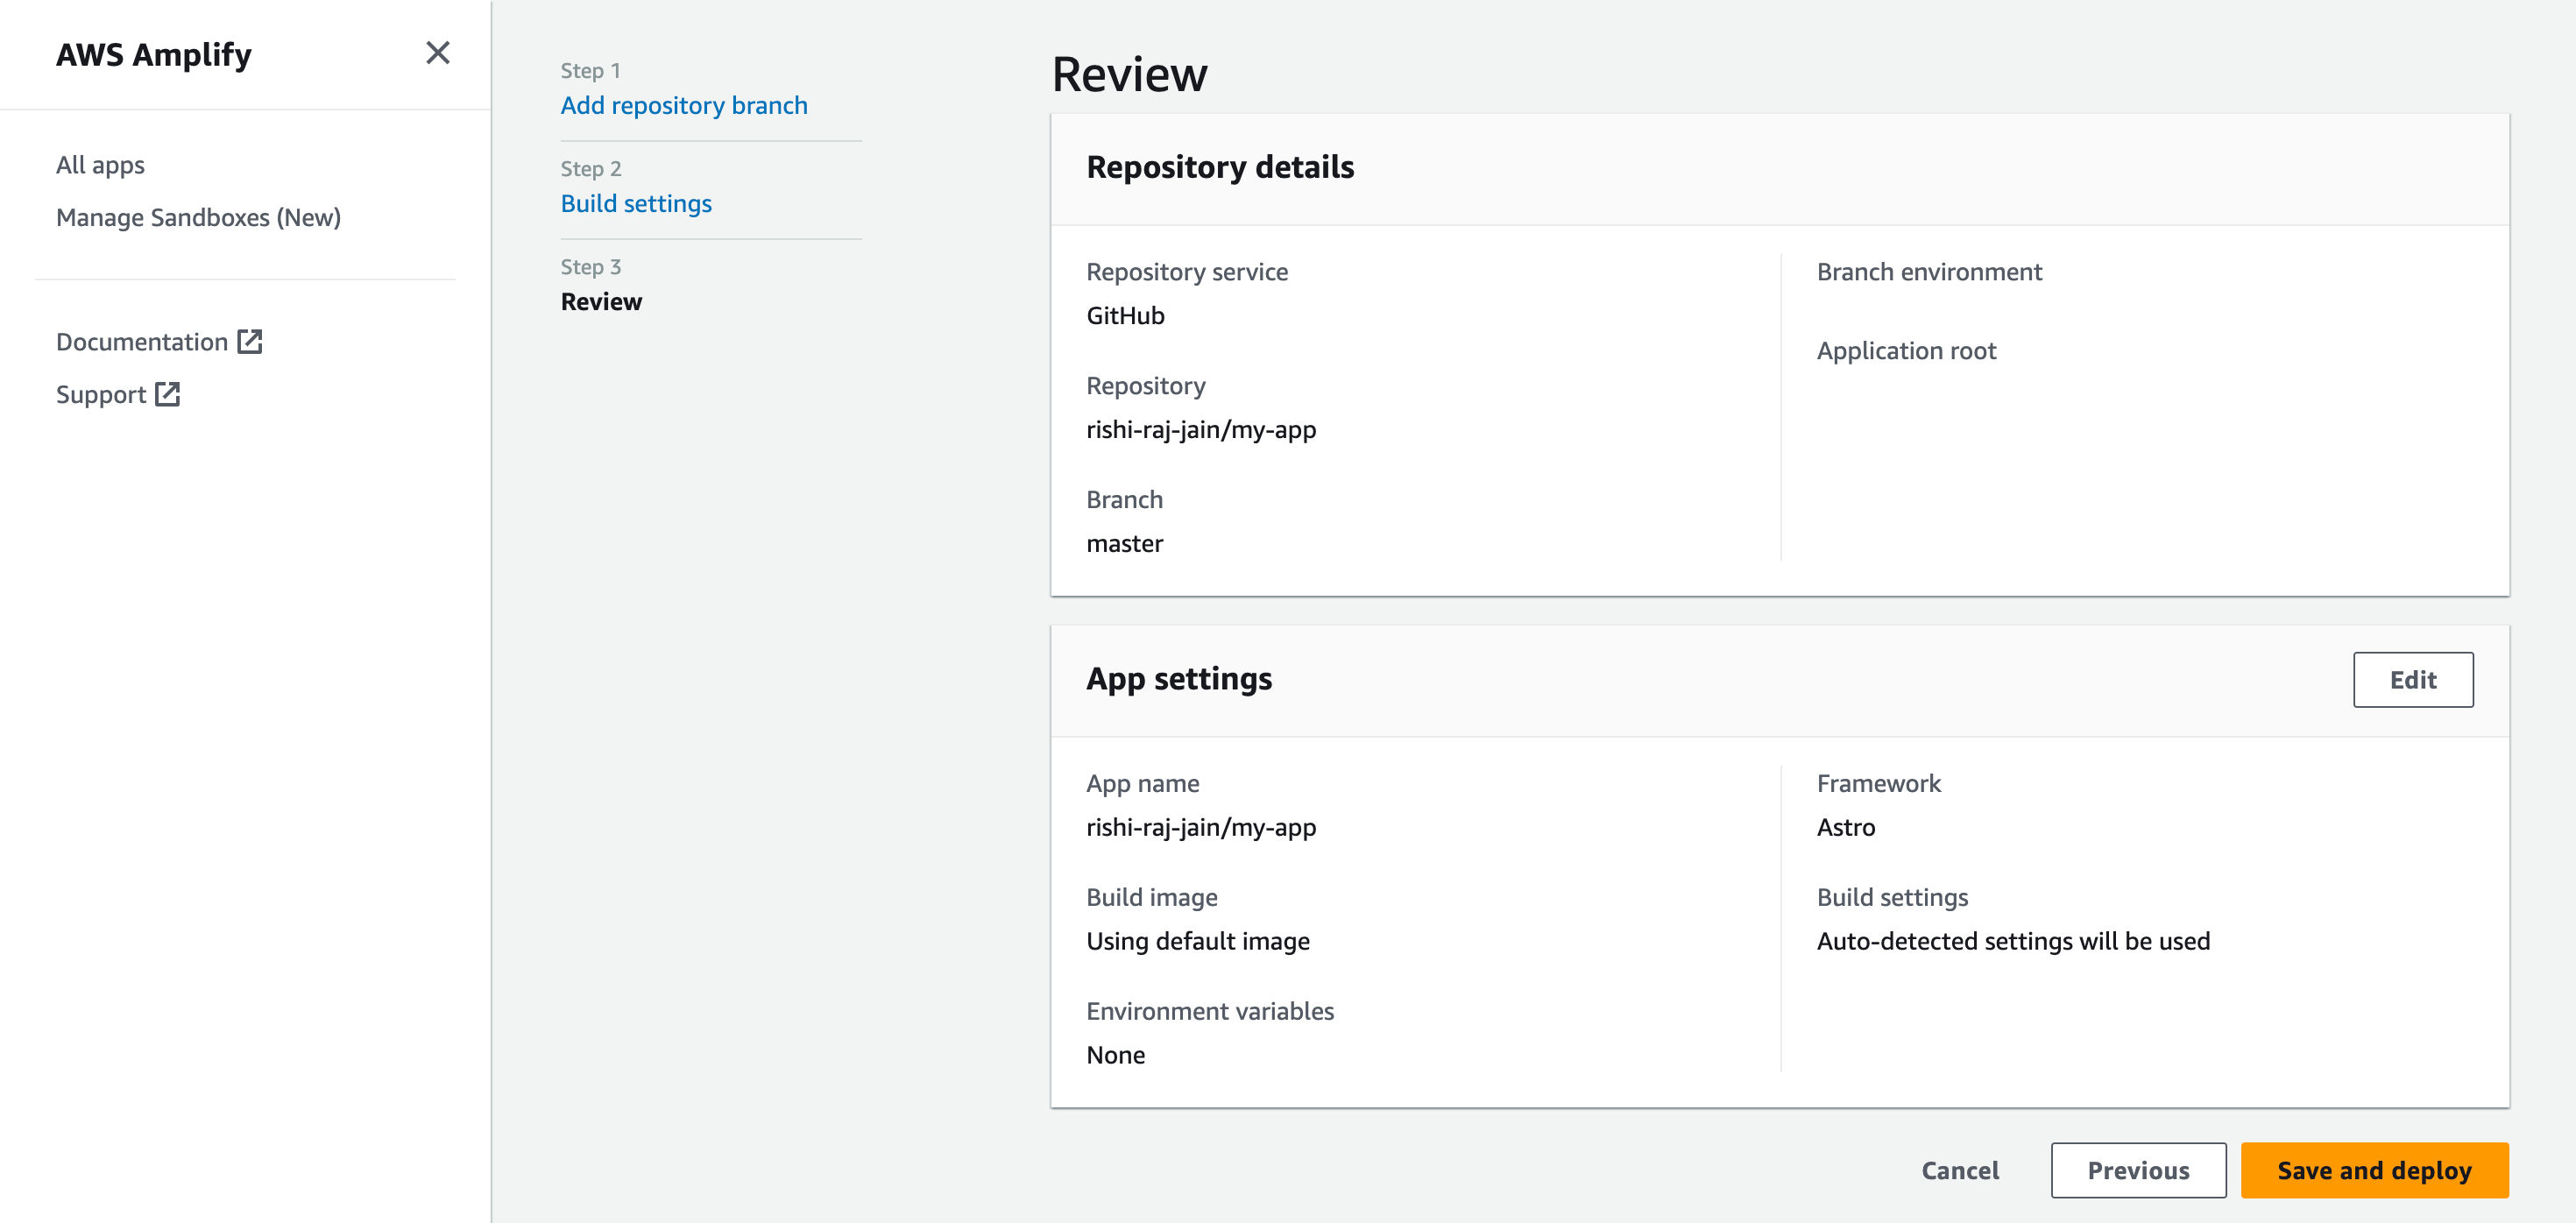
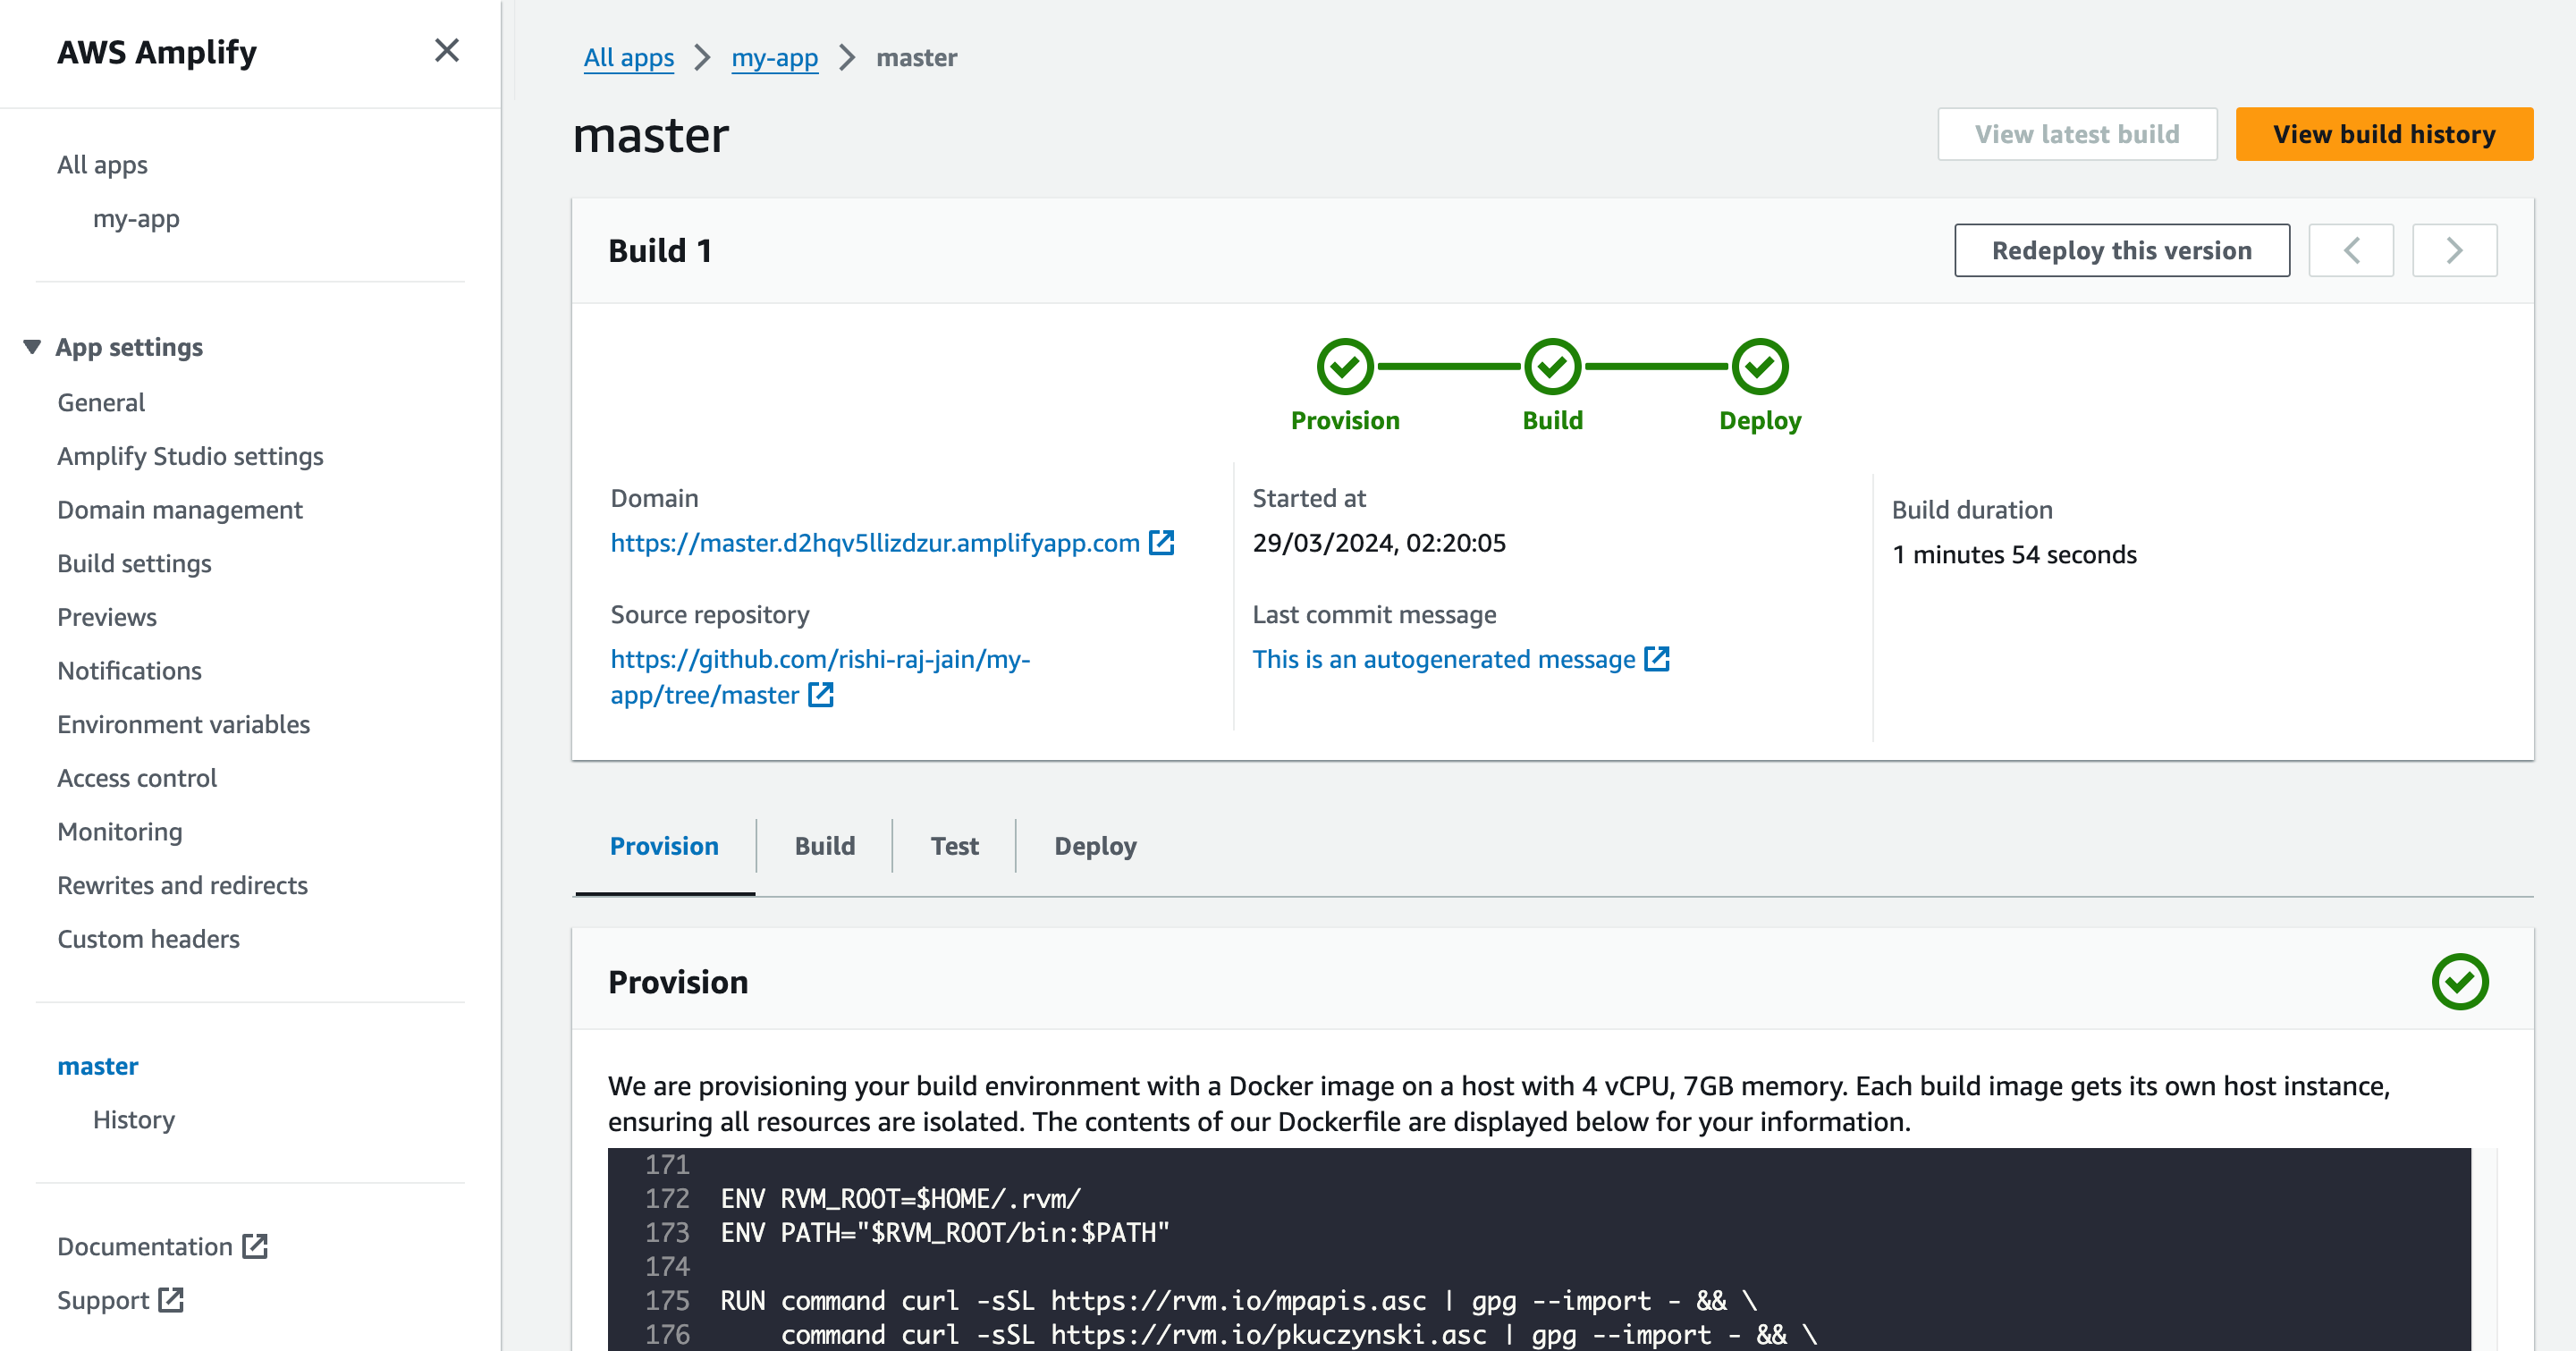
Yay! You’ve now an SvelteKit project that automatically deploys to AWS Amplify upon Git push.
If you have any questions or comments, feel free to reach out to me on Twitter.
LaunchFast works with Backblaze B2 out of the box. Same STORAGE_PROVIDER=s3, same pre-signed upload flow. Point AWS_ENDPOINT_URL_S3 at your regional B2 S3 endpoint and add your application key.
LaunchFast works with Tigris out of the box. Same STORAGE_PROVIDER=s3, same pre-signed upload flow. Point AWS_ENDPOINT_URL_S3 at https://fly.storage.tigris.dev and add your credentials.
LaunchFast exists because of open source. Here are the maintainers we sponsor on GitHub today: Coolify, fast-check, Lume, Fumadocs, and Content Collections.